Run a speech test, transcribe recorded data, and generate a report in one connected workflow.
Part 1: Run a speech test
Step 1: Setting up the test
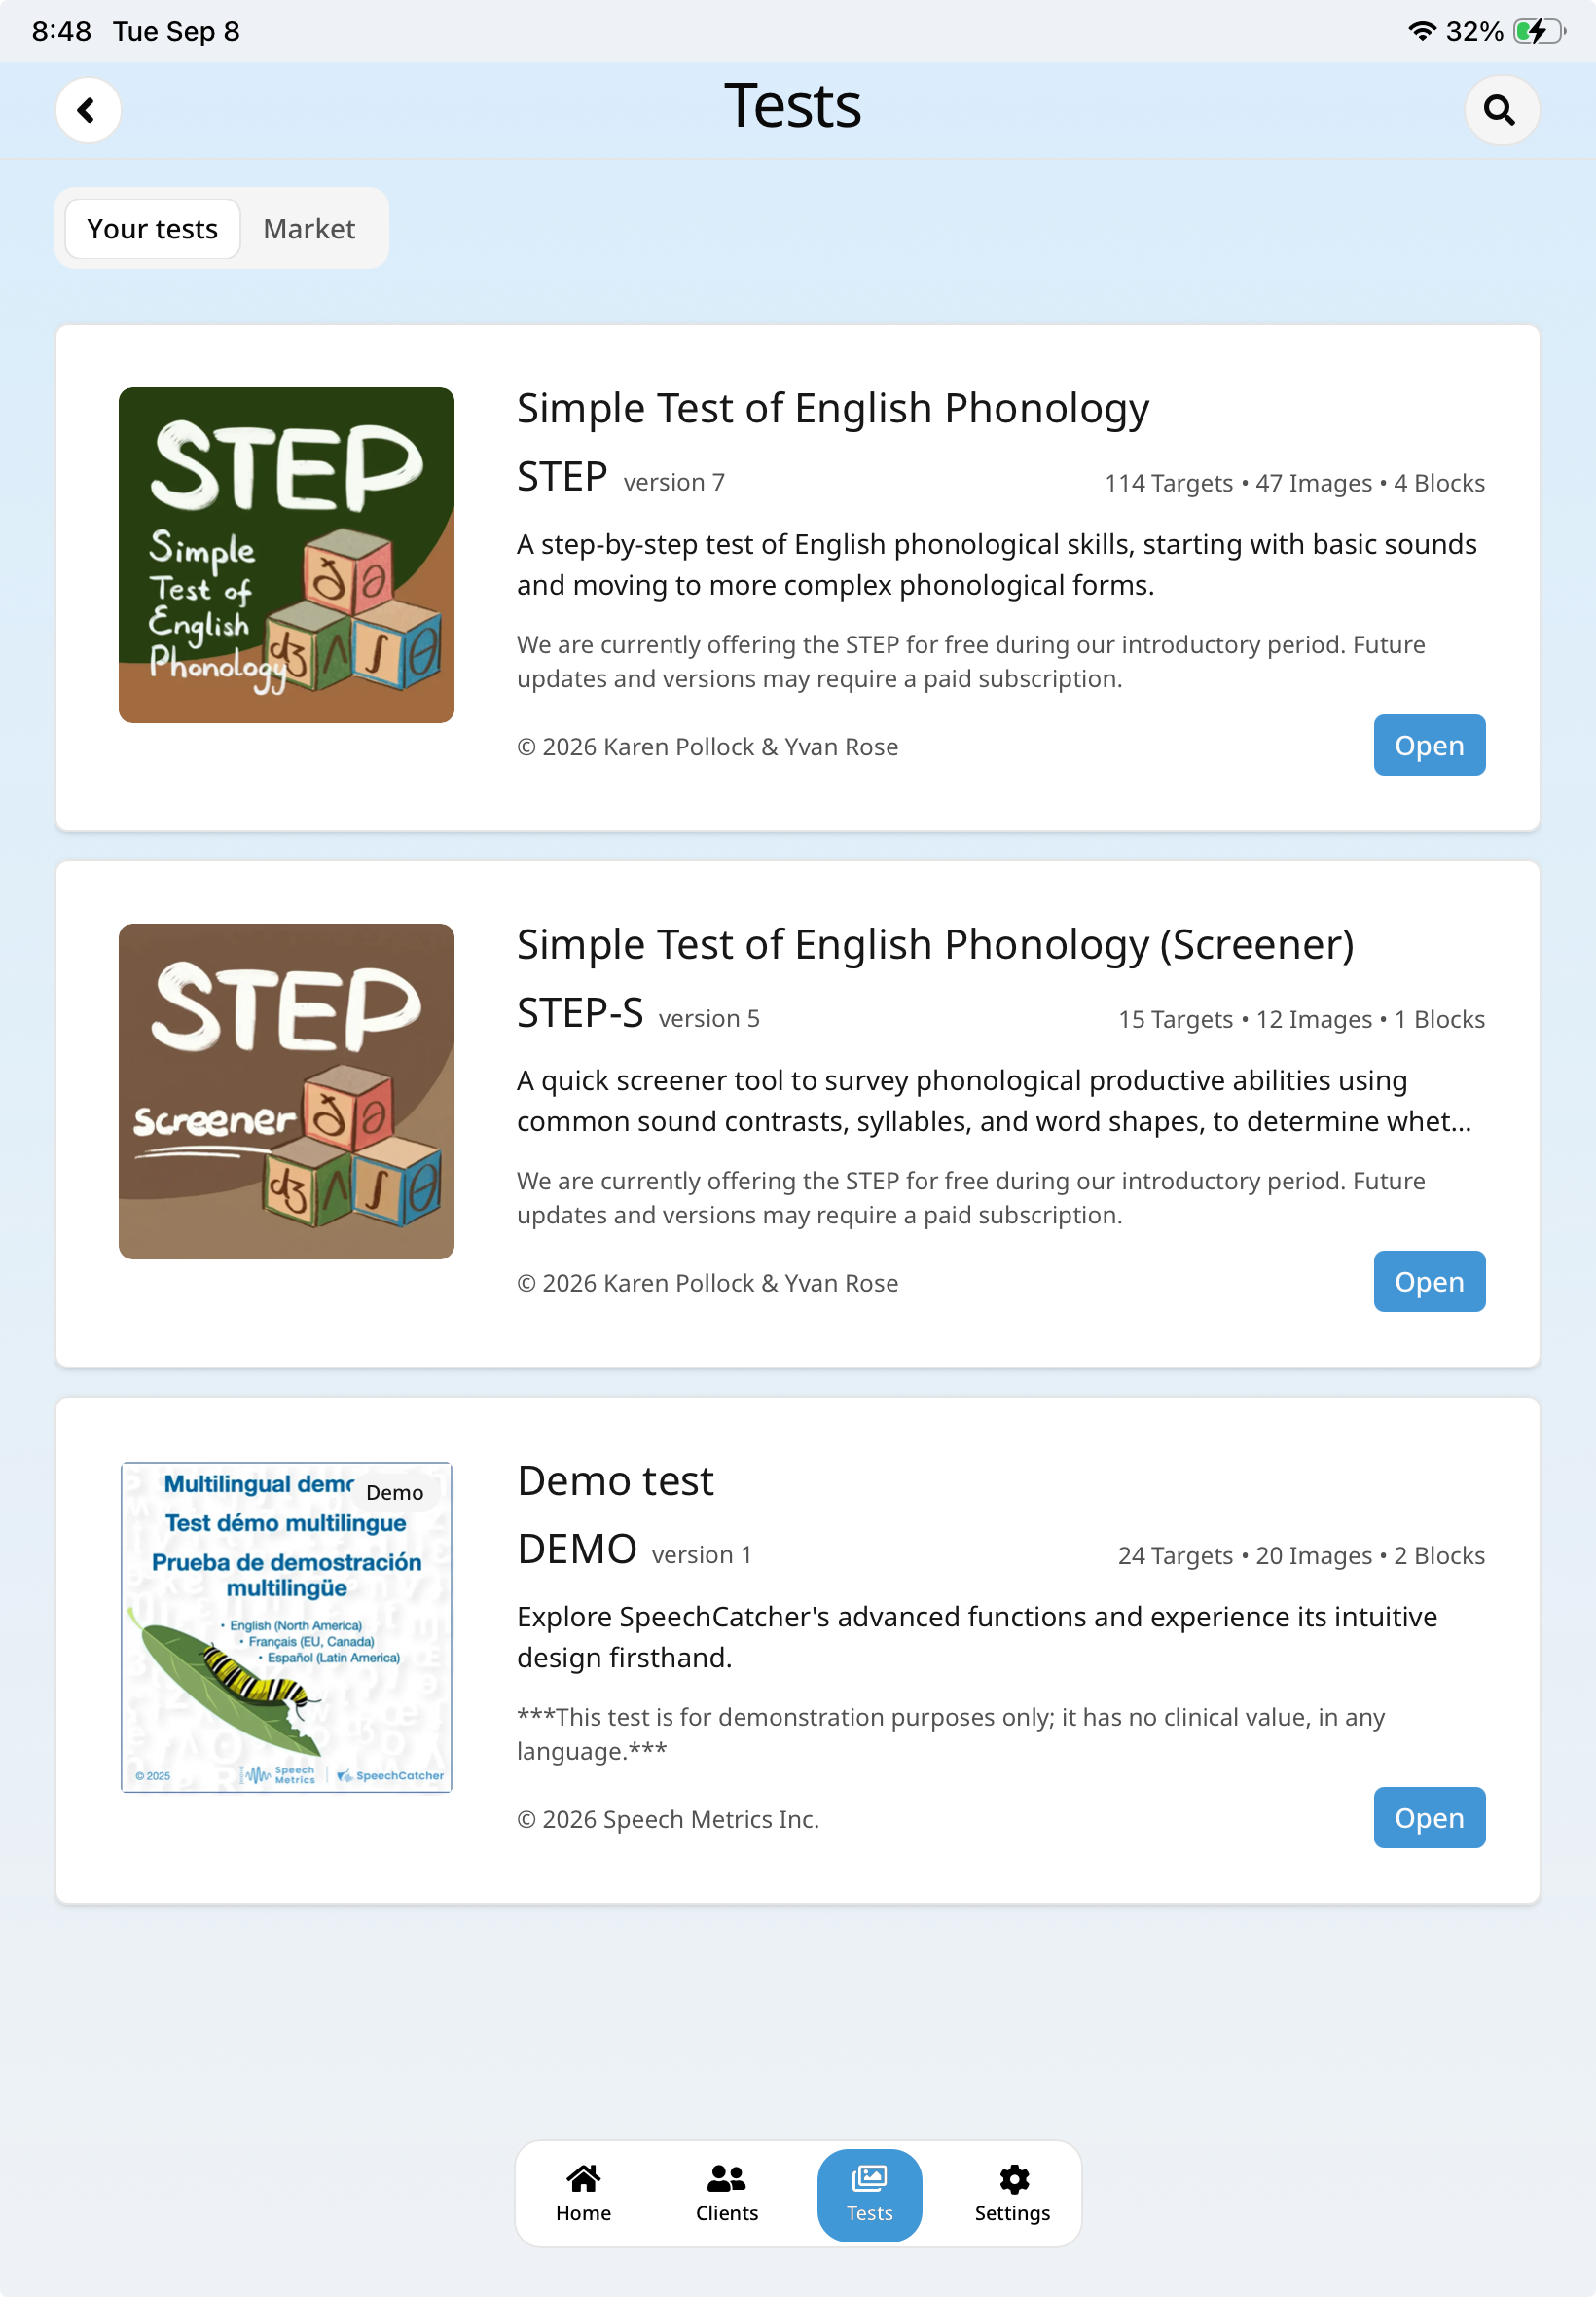
From anywhere in SpeechCatcher, open the Tests screen from the Home screen or the Tests icon in the bottom tab bar. Search by tapping the magnifying glass, then select the test you want to run.
Review the test details, then choose a registered client and enter the clinician's name. You can also select a language or dialect, randomize the images, or show prompts automatically.
When you are ready, tap Start Test.
Confirm the test title, version, description, target lists, and target counts.
Select both required fields: Client and Clinician.
The confirmation screen shows the test name and offers Begin or Go Back. Tap Begin to display the first test image.
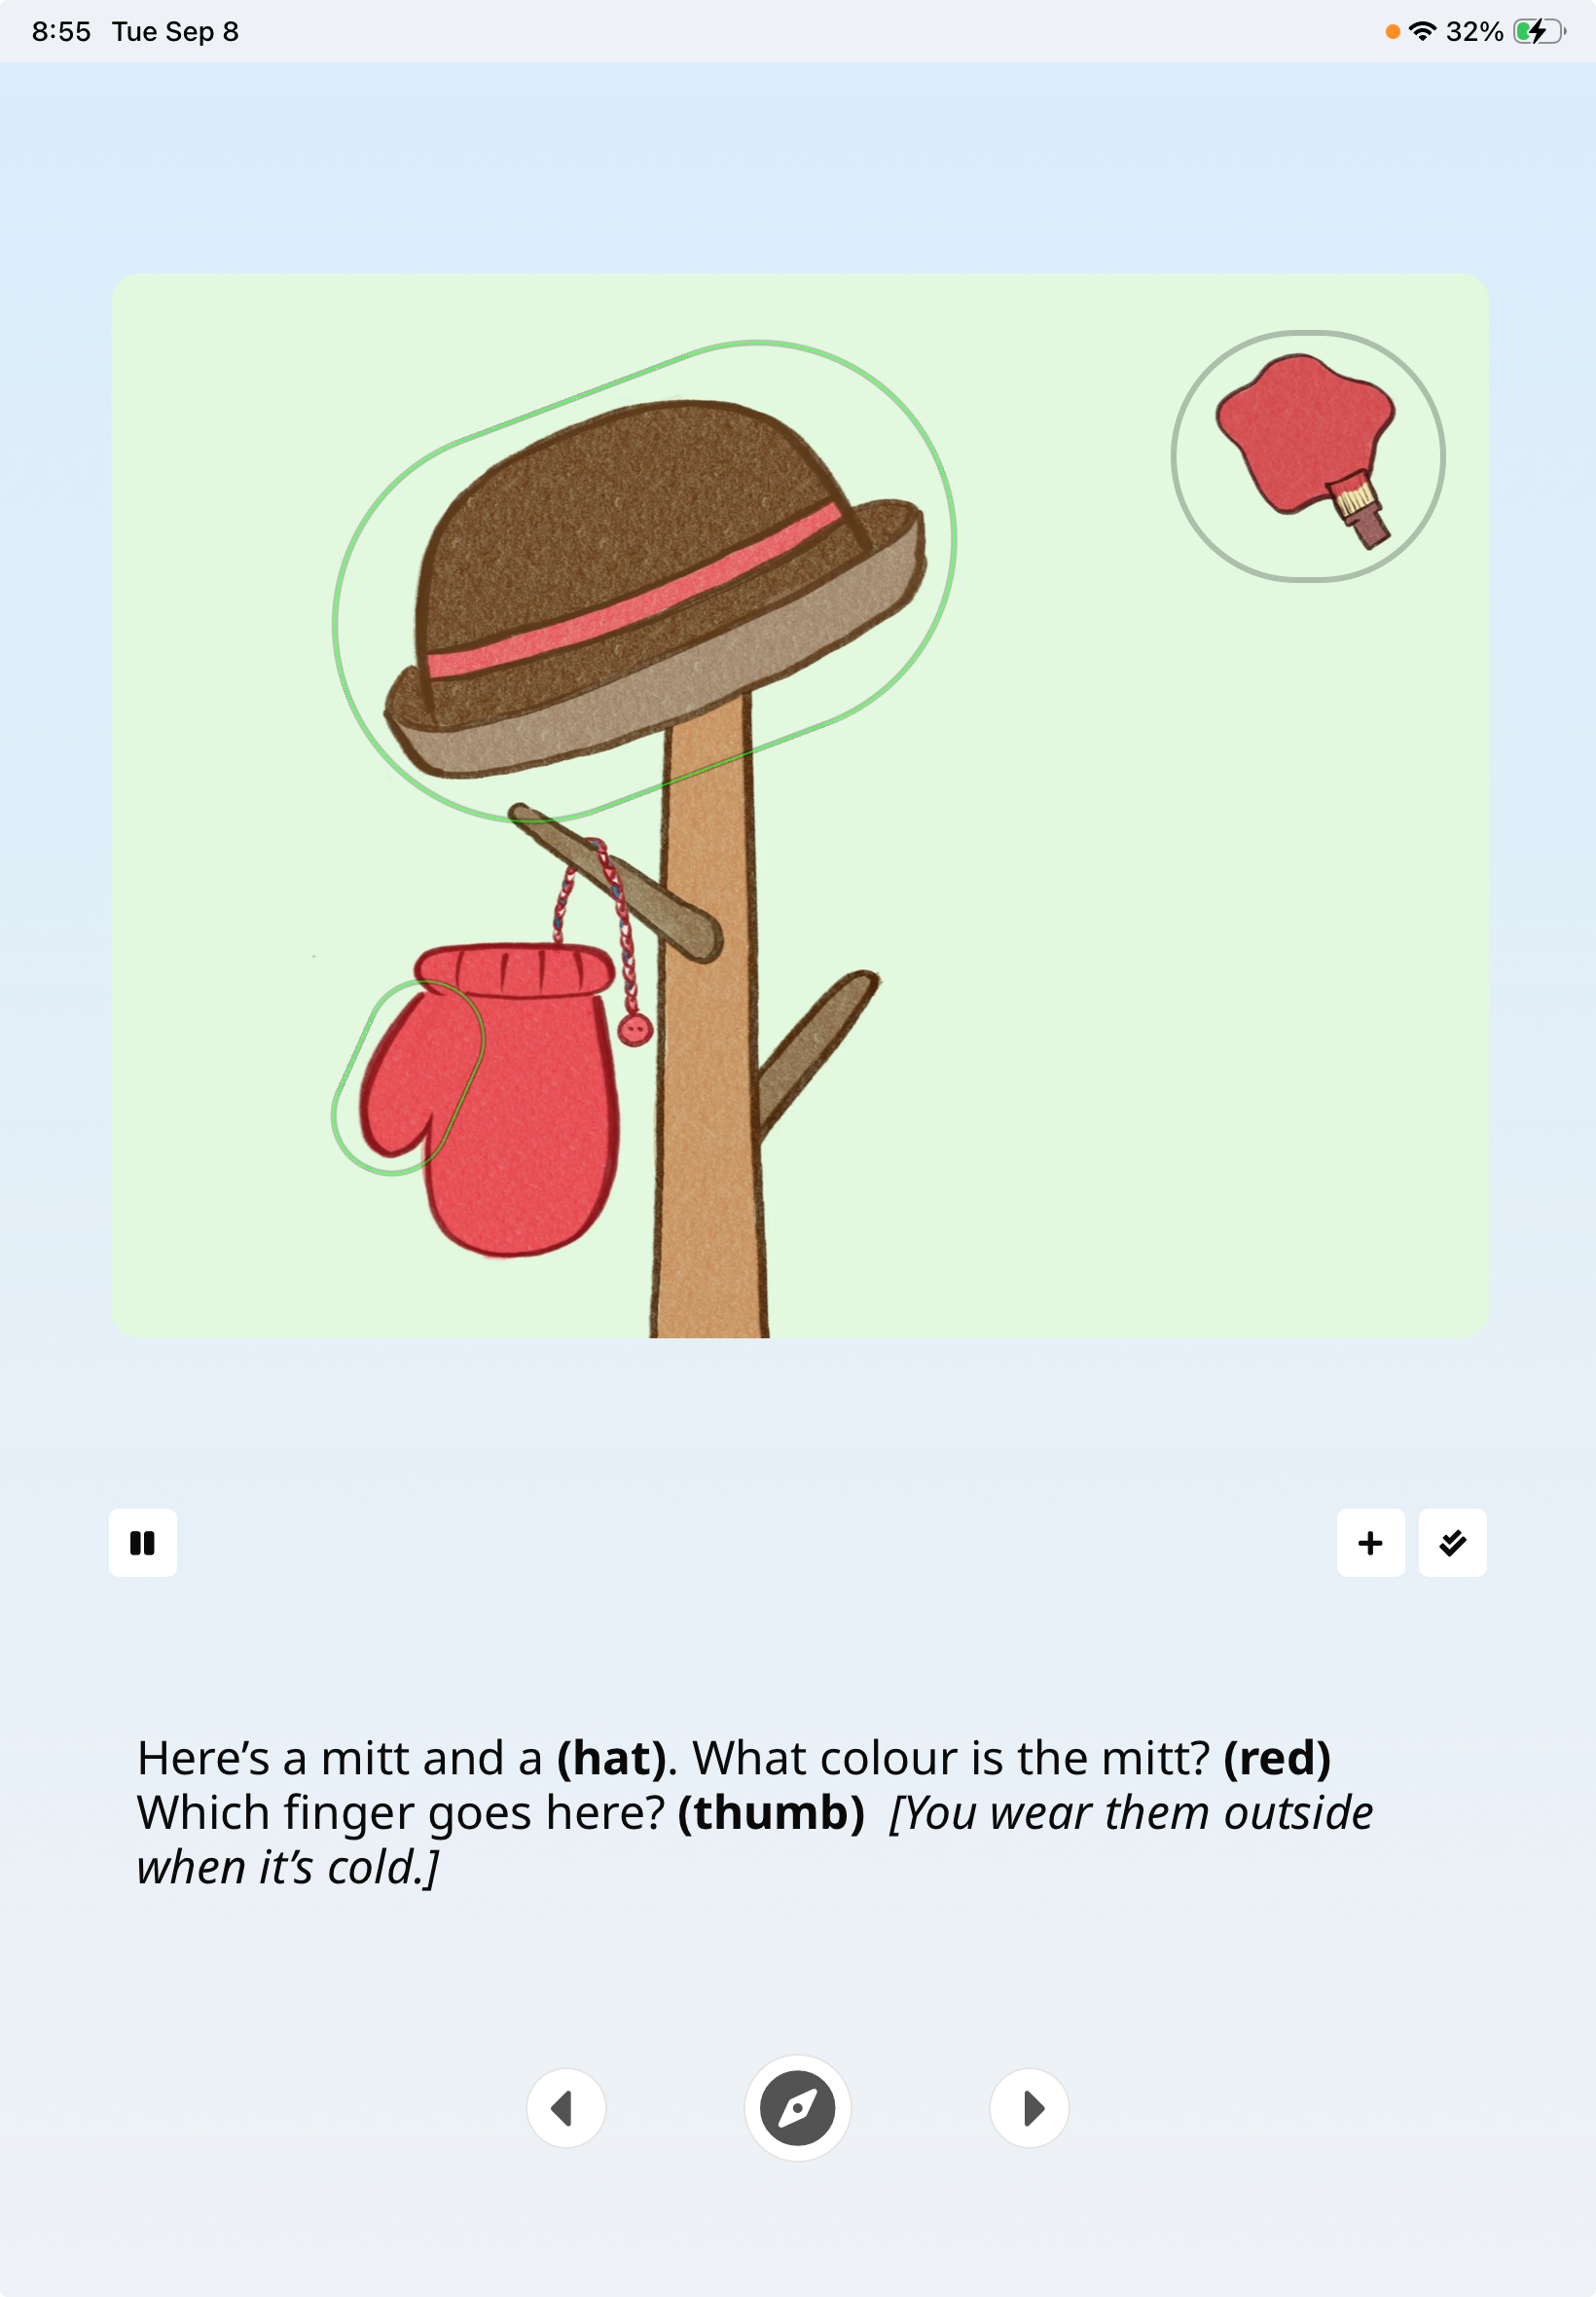
A short press marks a target as produced incorrectly; a long press marks it as produced correctly. Use the center button for prompts and the arrow buttons to move between images.
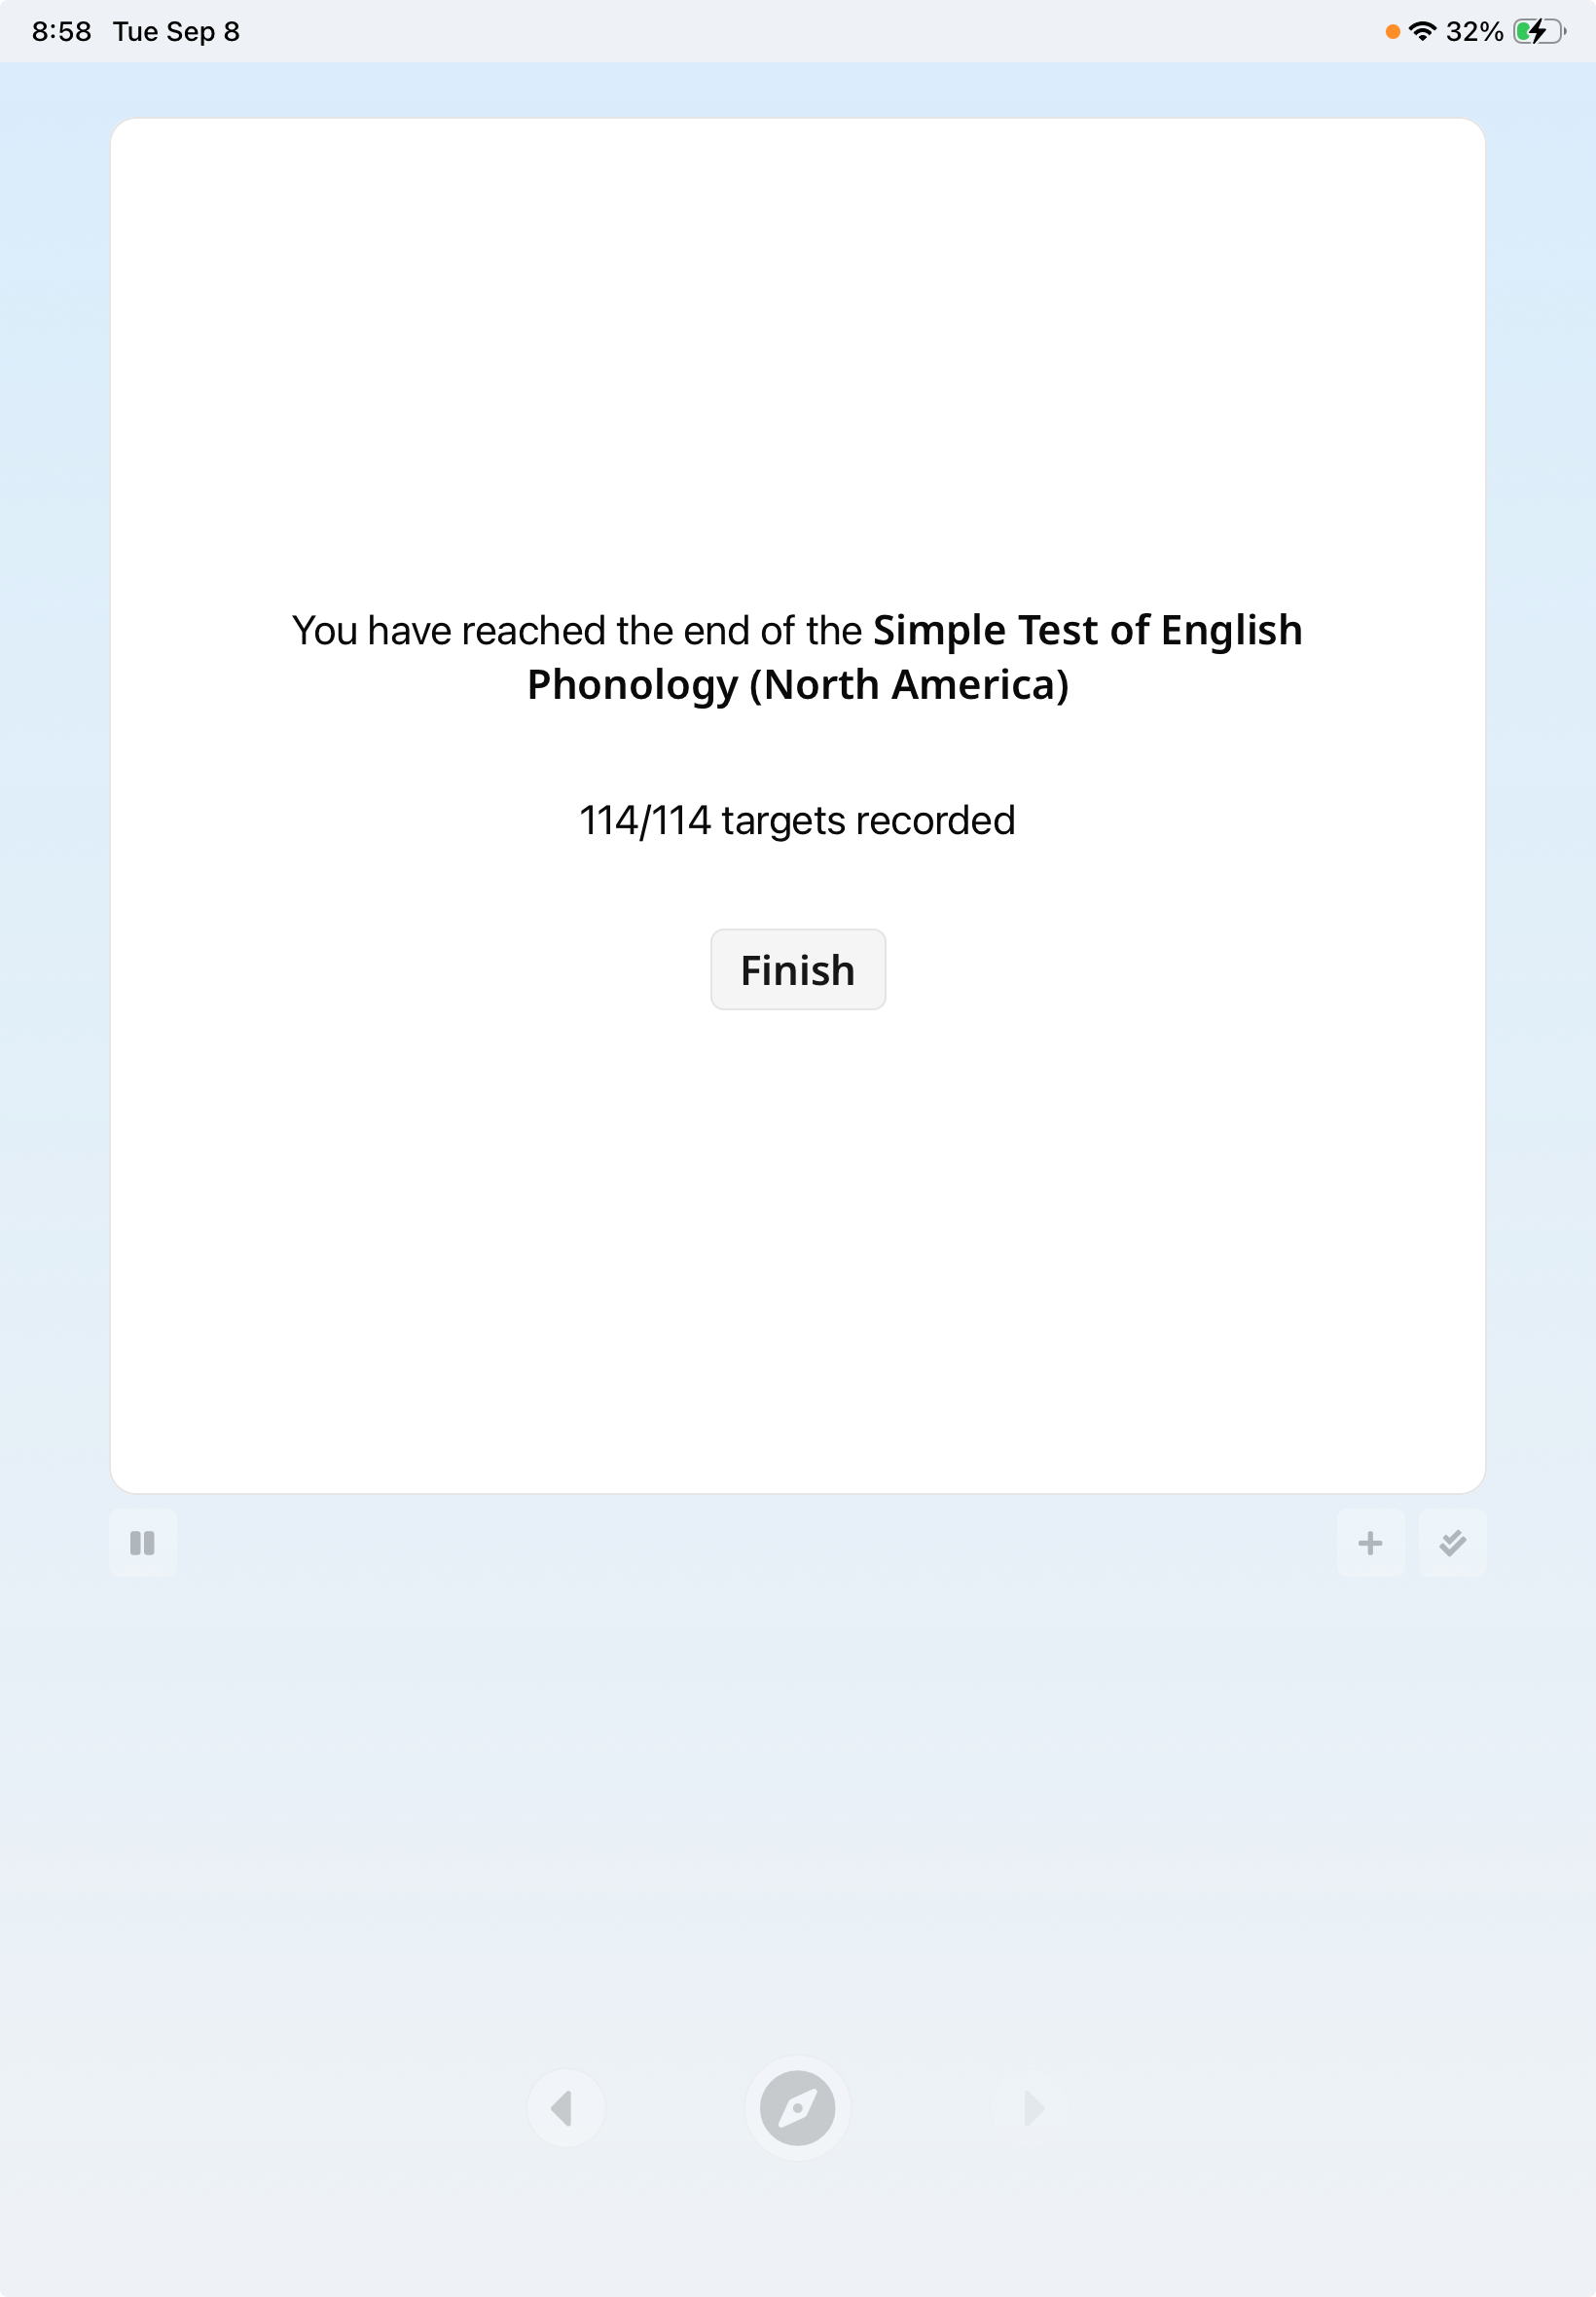
Pause at any time to review progress, resume, finish and save early, or cancel without saving.
For one target, tap the image. For multiple targets, tap the specific area.
Use the plus button for an interesting non-standard production.
Use the double checkmark to record two quickly produced words.
Once you have recorded speech test data in SpeechCatcher, the next step is to transcribe it phonetically. This guide walks you through the transcription process.
Step 1: Accessing the recorded data
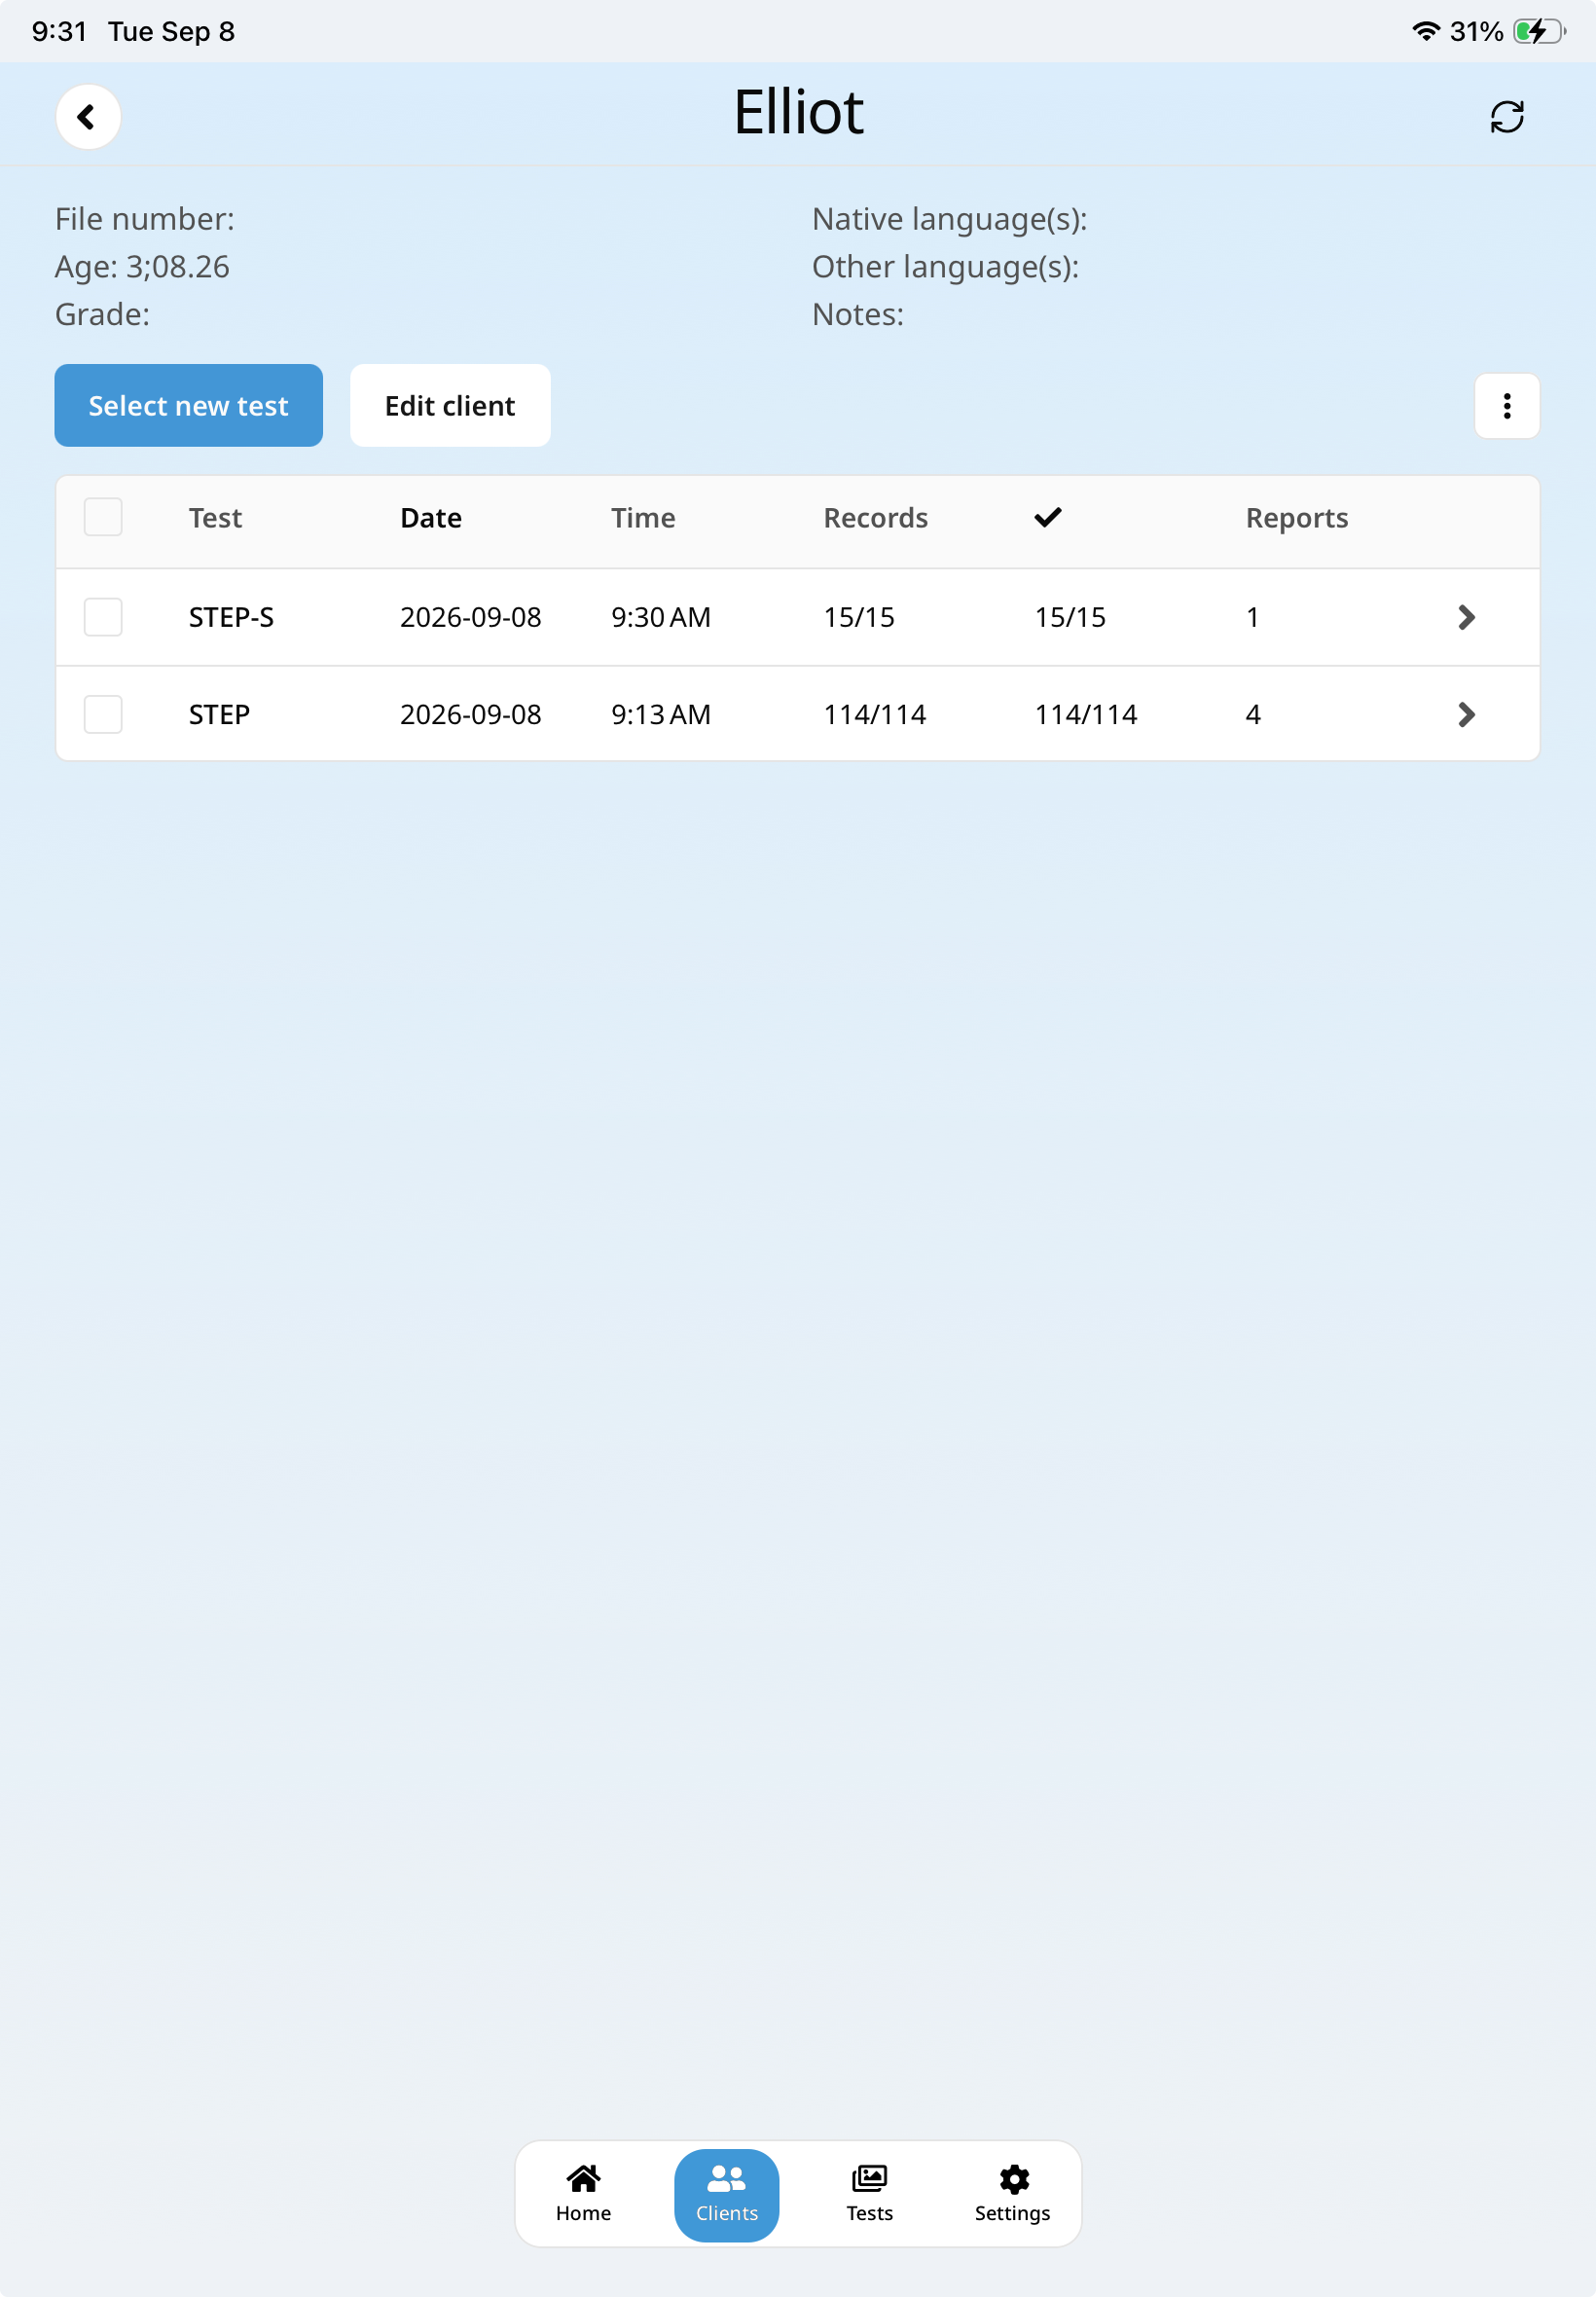
From the Clients screen, select the client you just tested. Choose the relevant session from the table, then tap any record on the Records and Reports screen to begin transcribing.
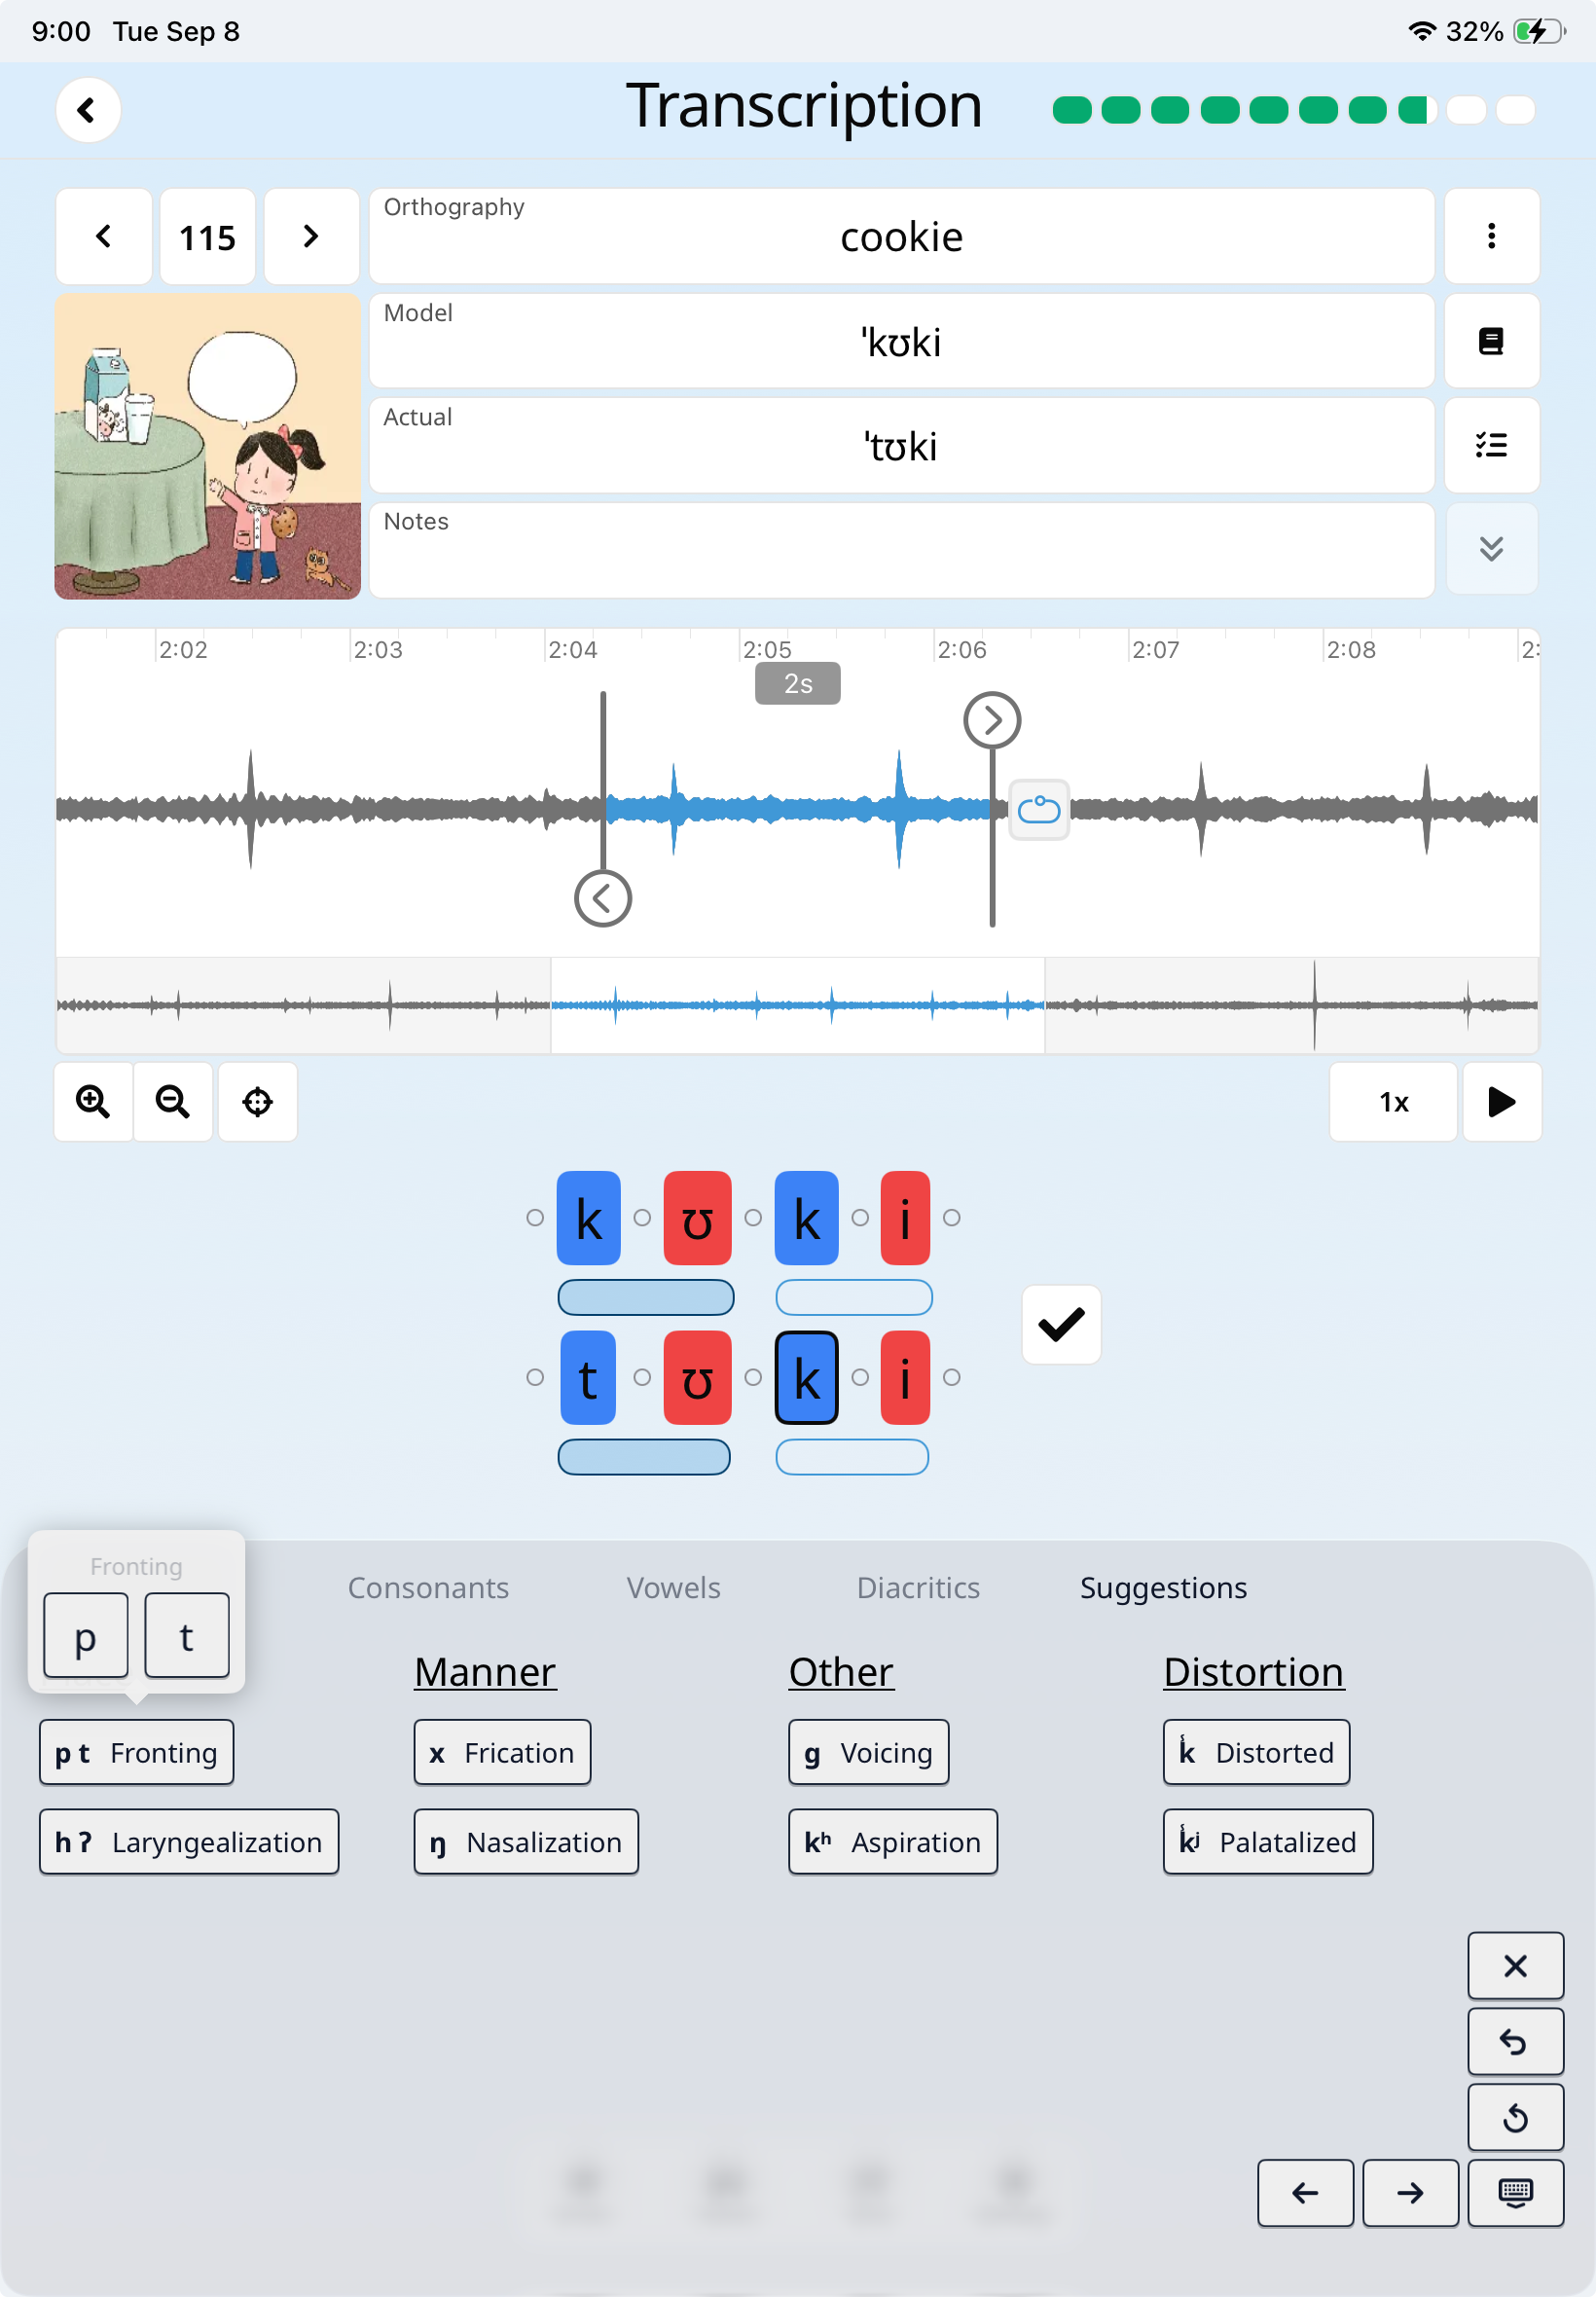
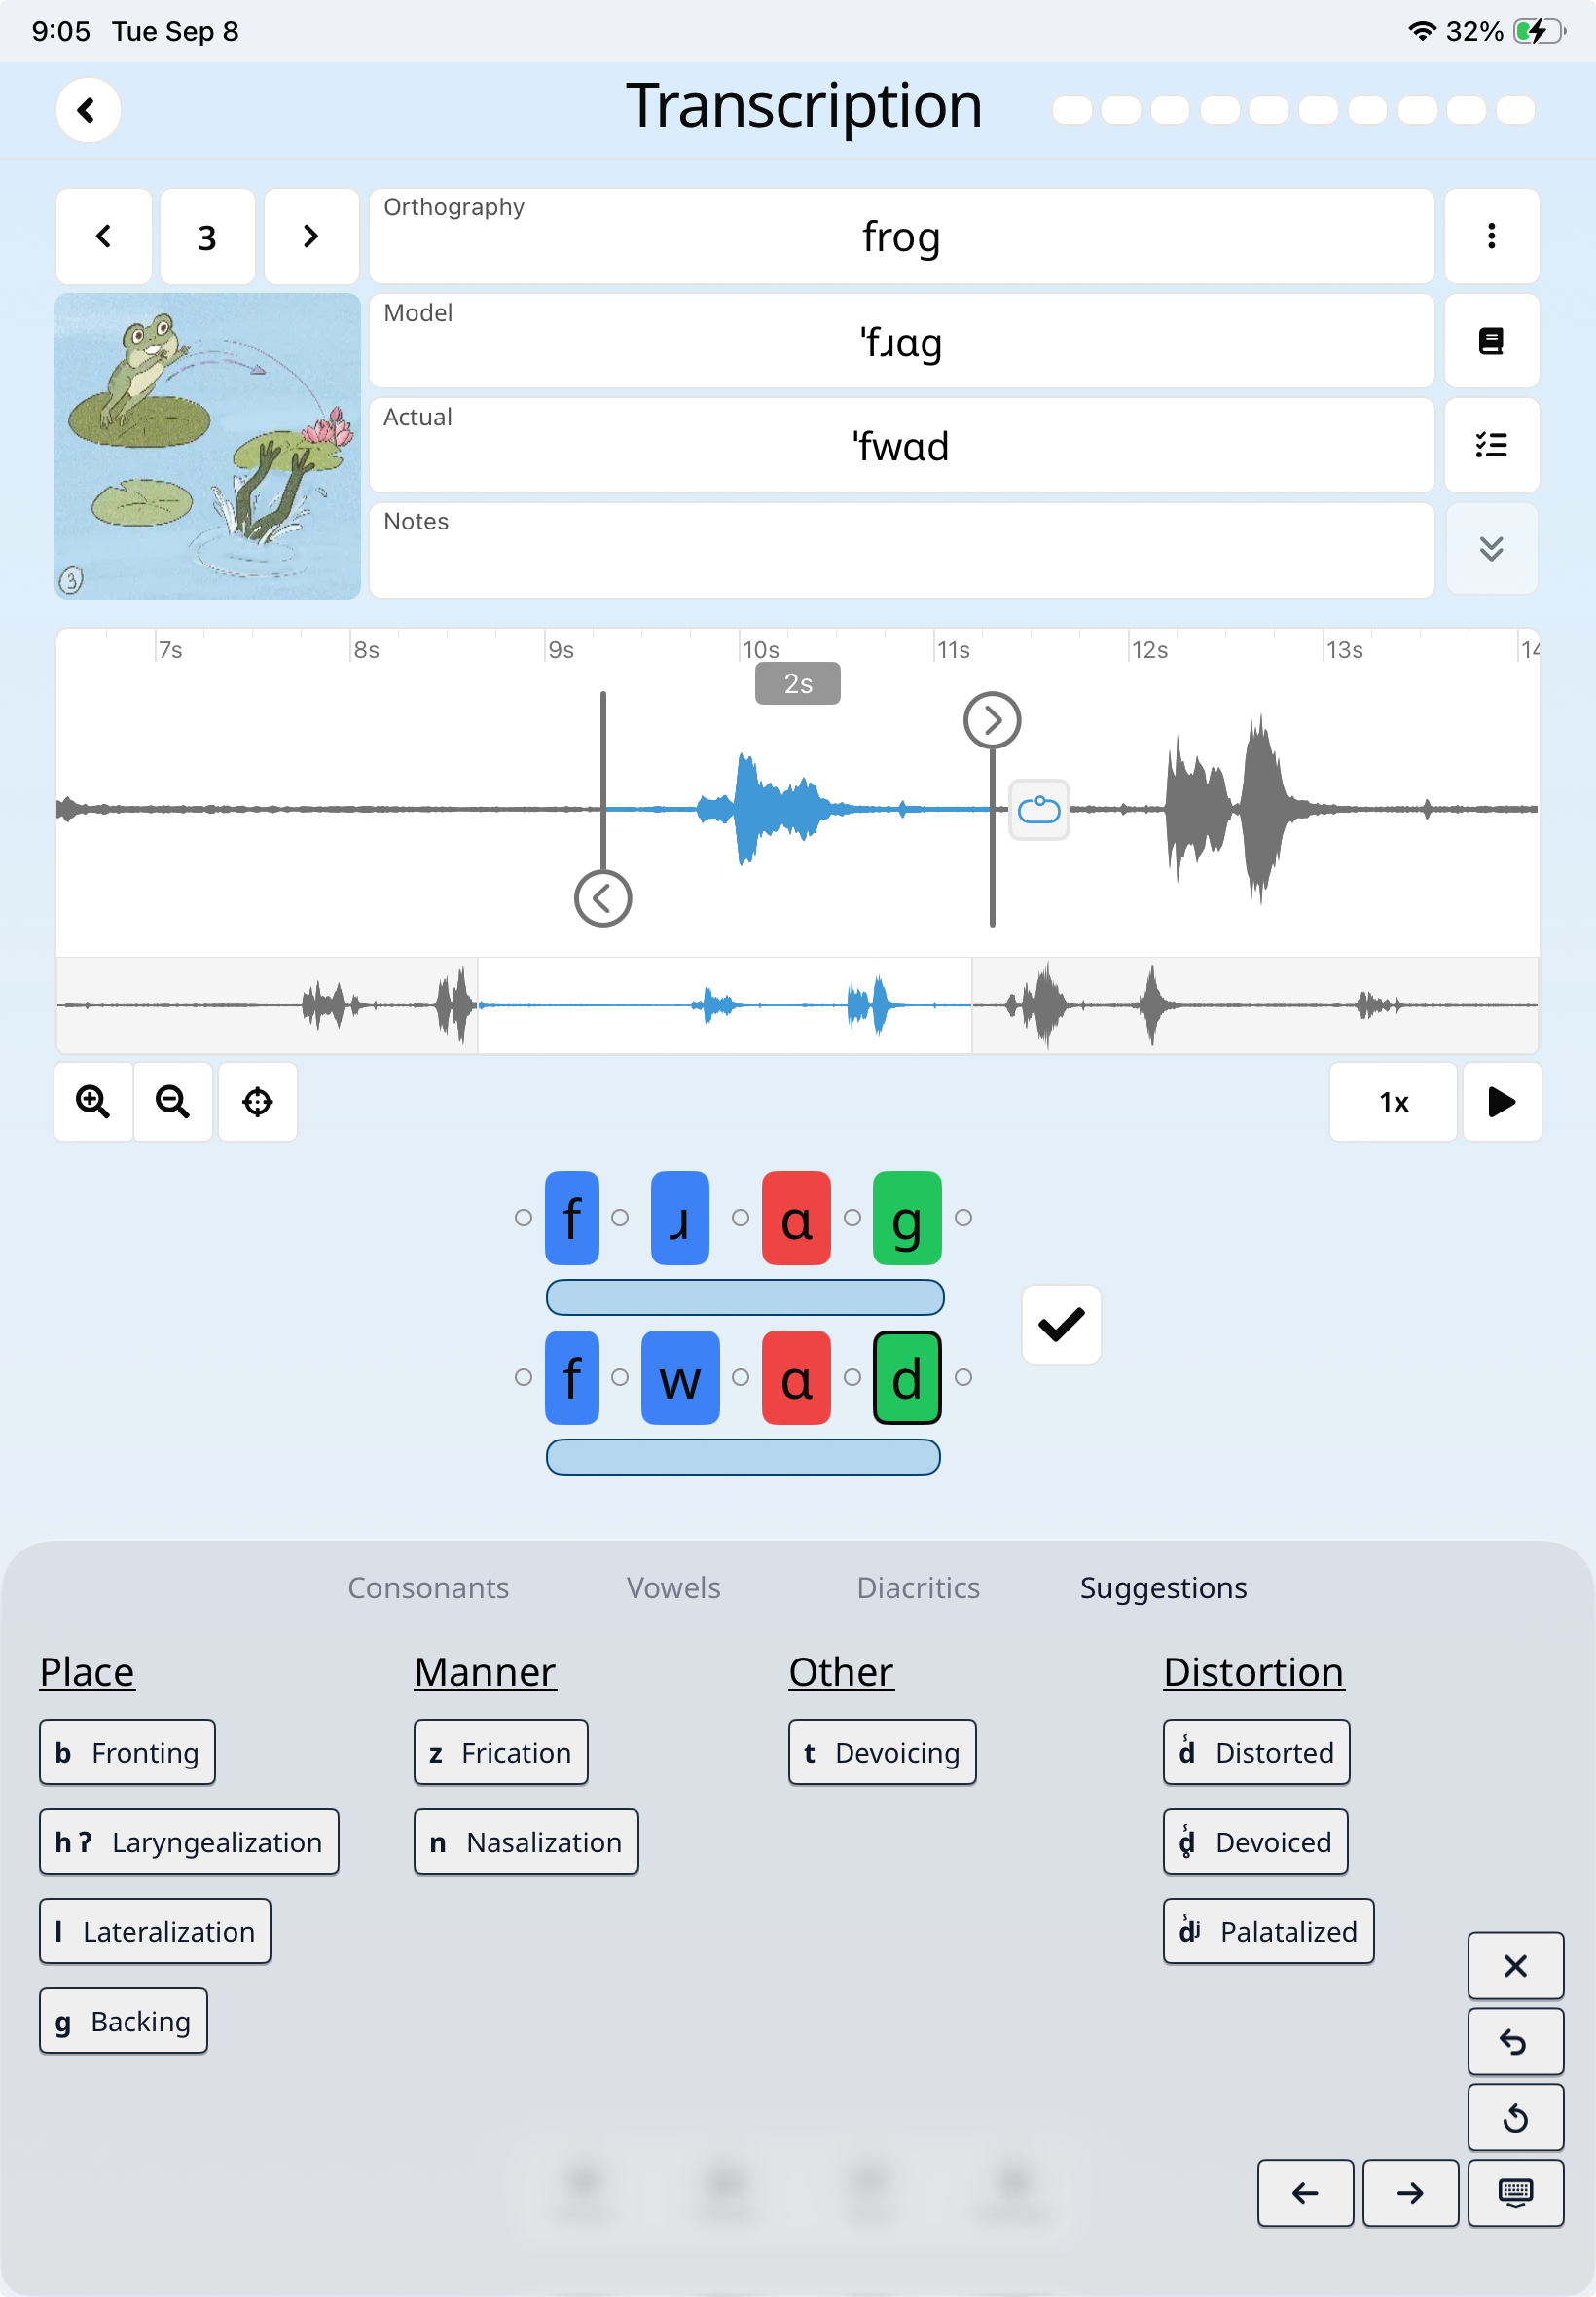
The highlighted waveform segment corresponds to when the target was selected. Drag its handles to adjust the start and end, or tap the segment to play it.
Use zoom, center view, playback speed, loop, and segment playback controls. The overview waveform below helps you navigate the full session.
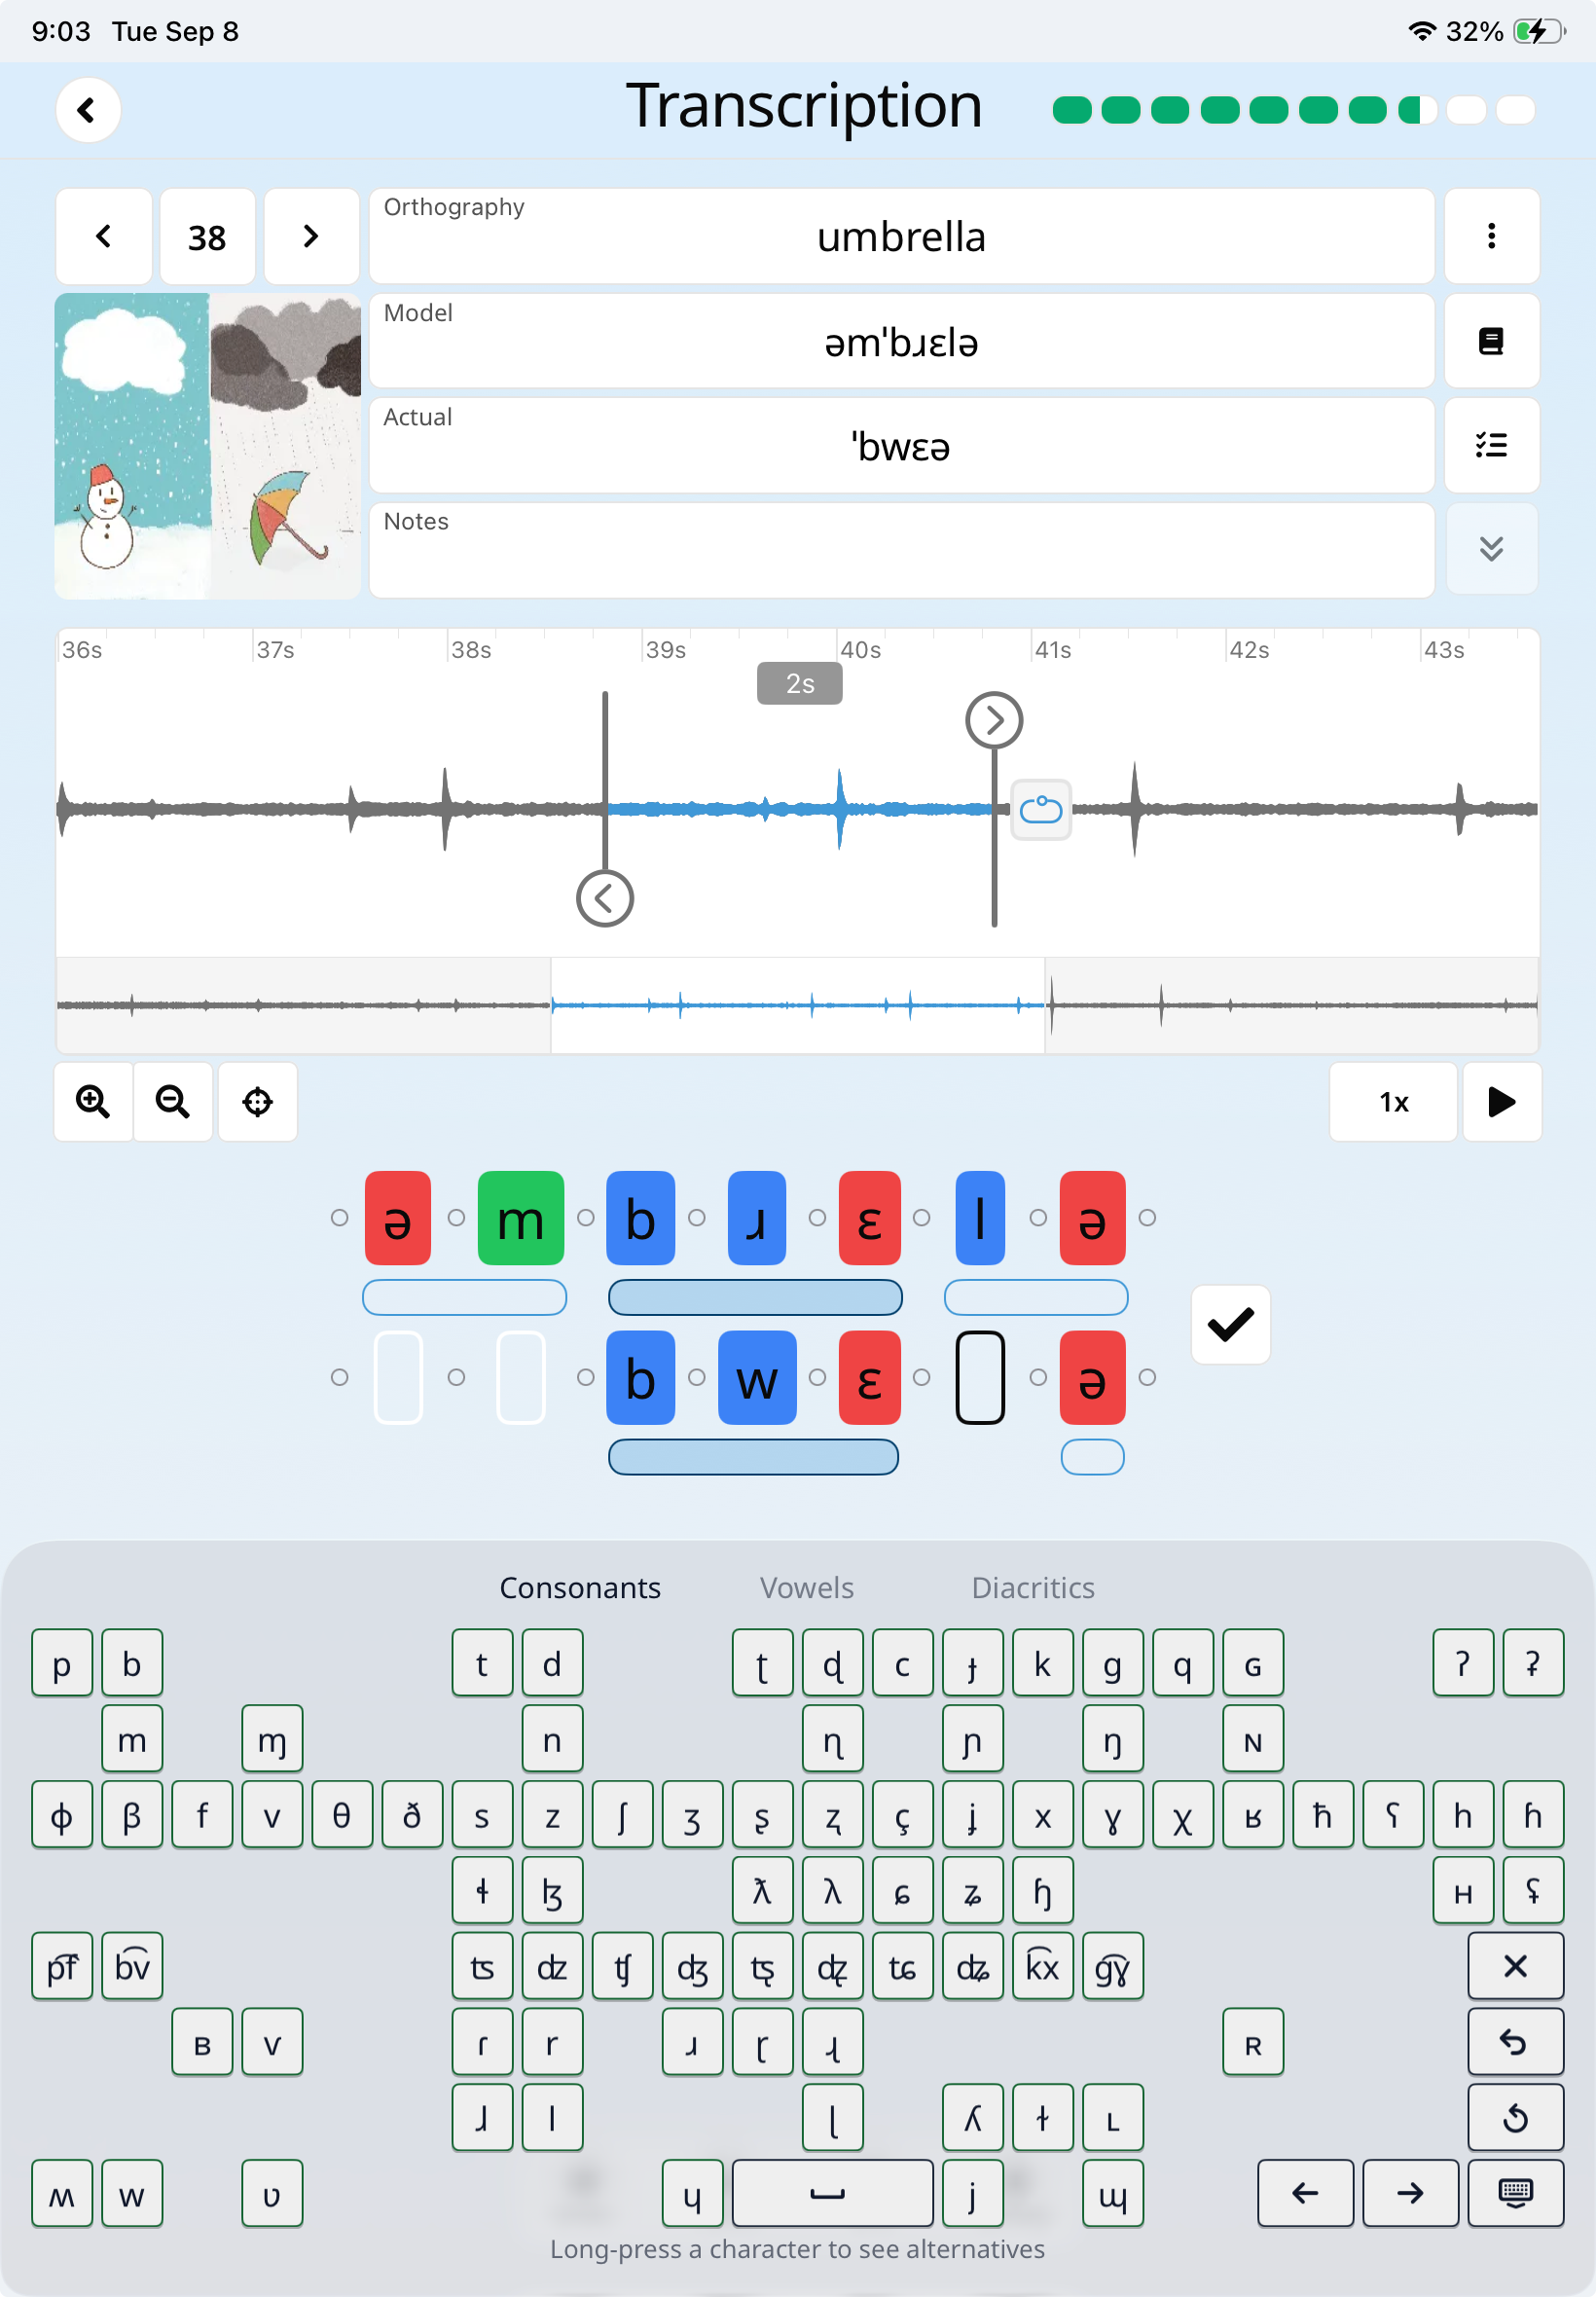
Tap a phone in the model or actual transcription to open the custom IPA keyboard. Choose consonants, vowels, diacritics, or context-specific suggestions, and use insertion points to add symbols without replacing them.
Syllable bars provide syllable-specific suggestions and tonal controls where needed. When the record is reviewed, tap the checkmark to validate it for reporting.
Once you have transcribed your data, generate a professional report directly within SpeechCatcher, then select, compile, review, and export its contents.
Step 1: Accessing and choosing report sections
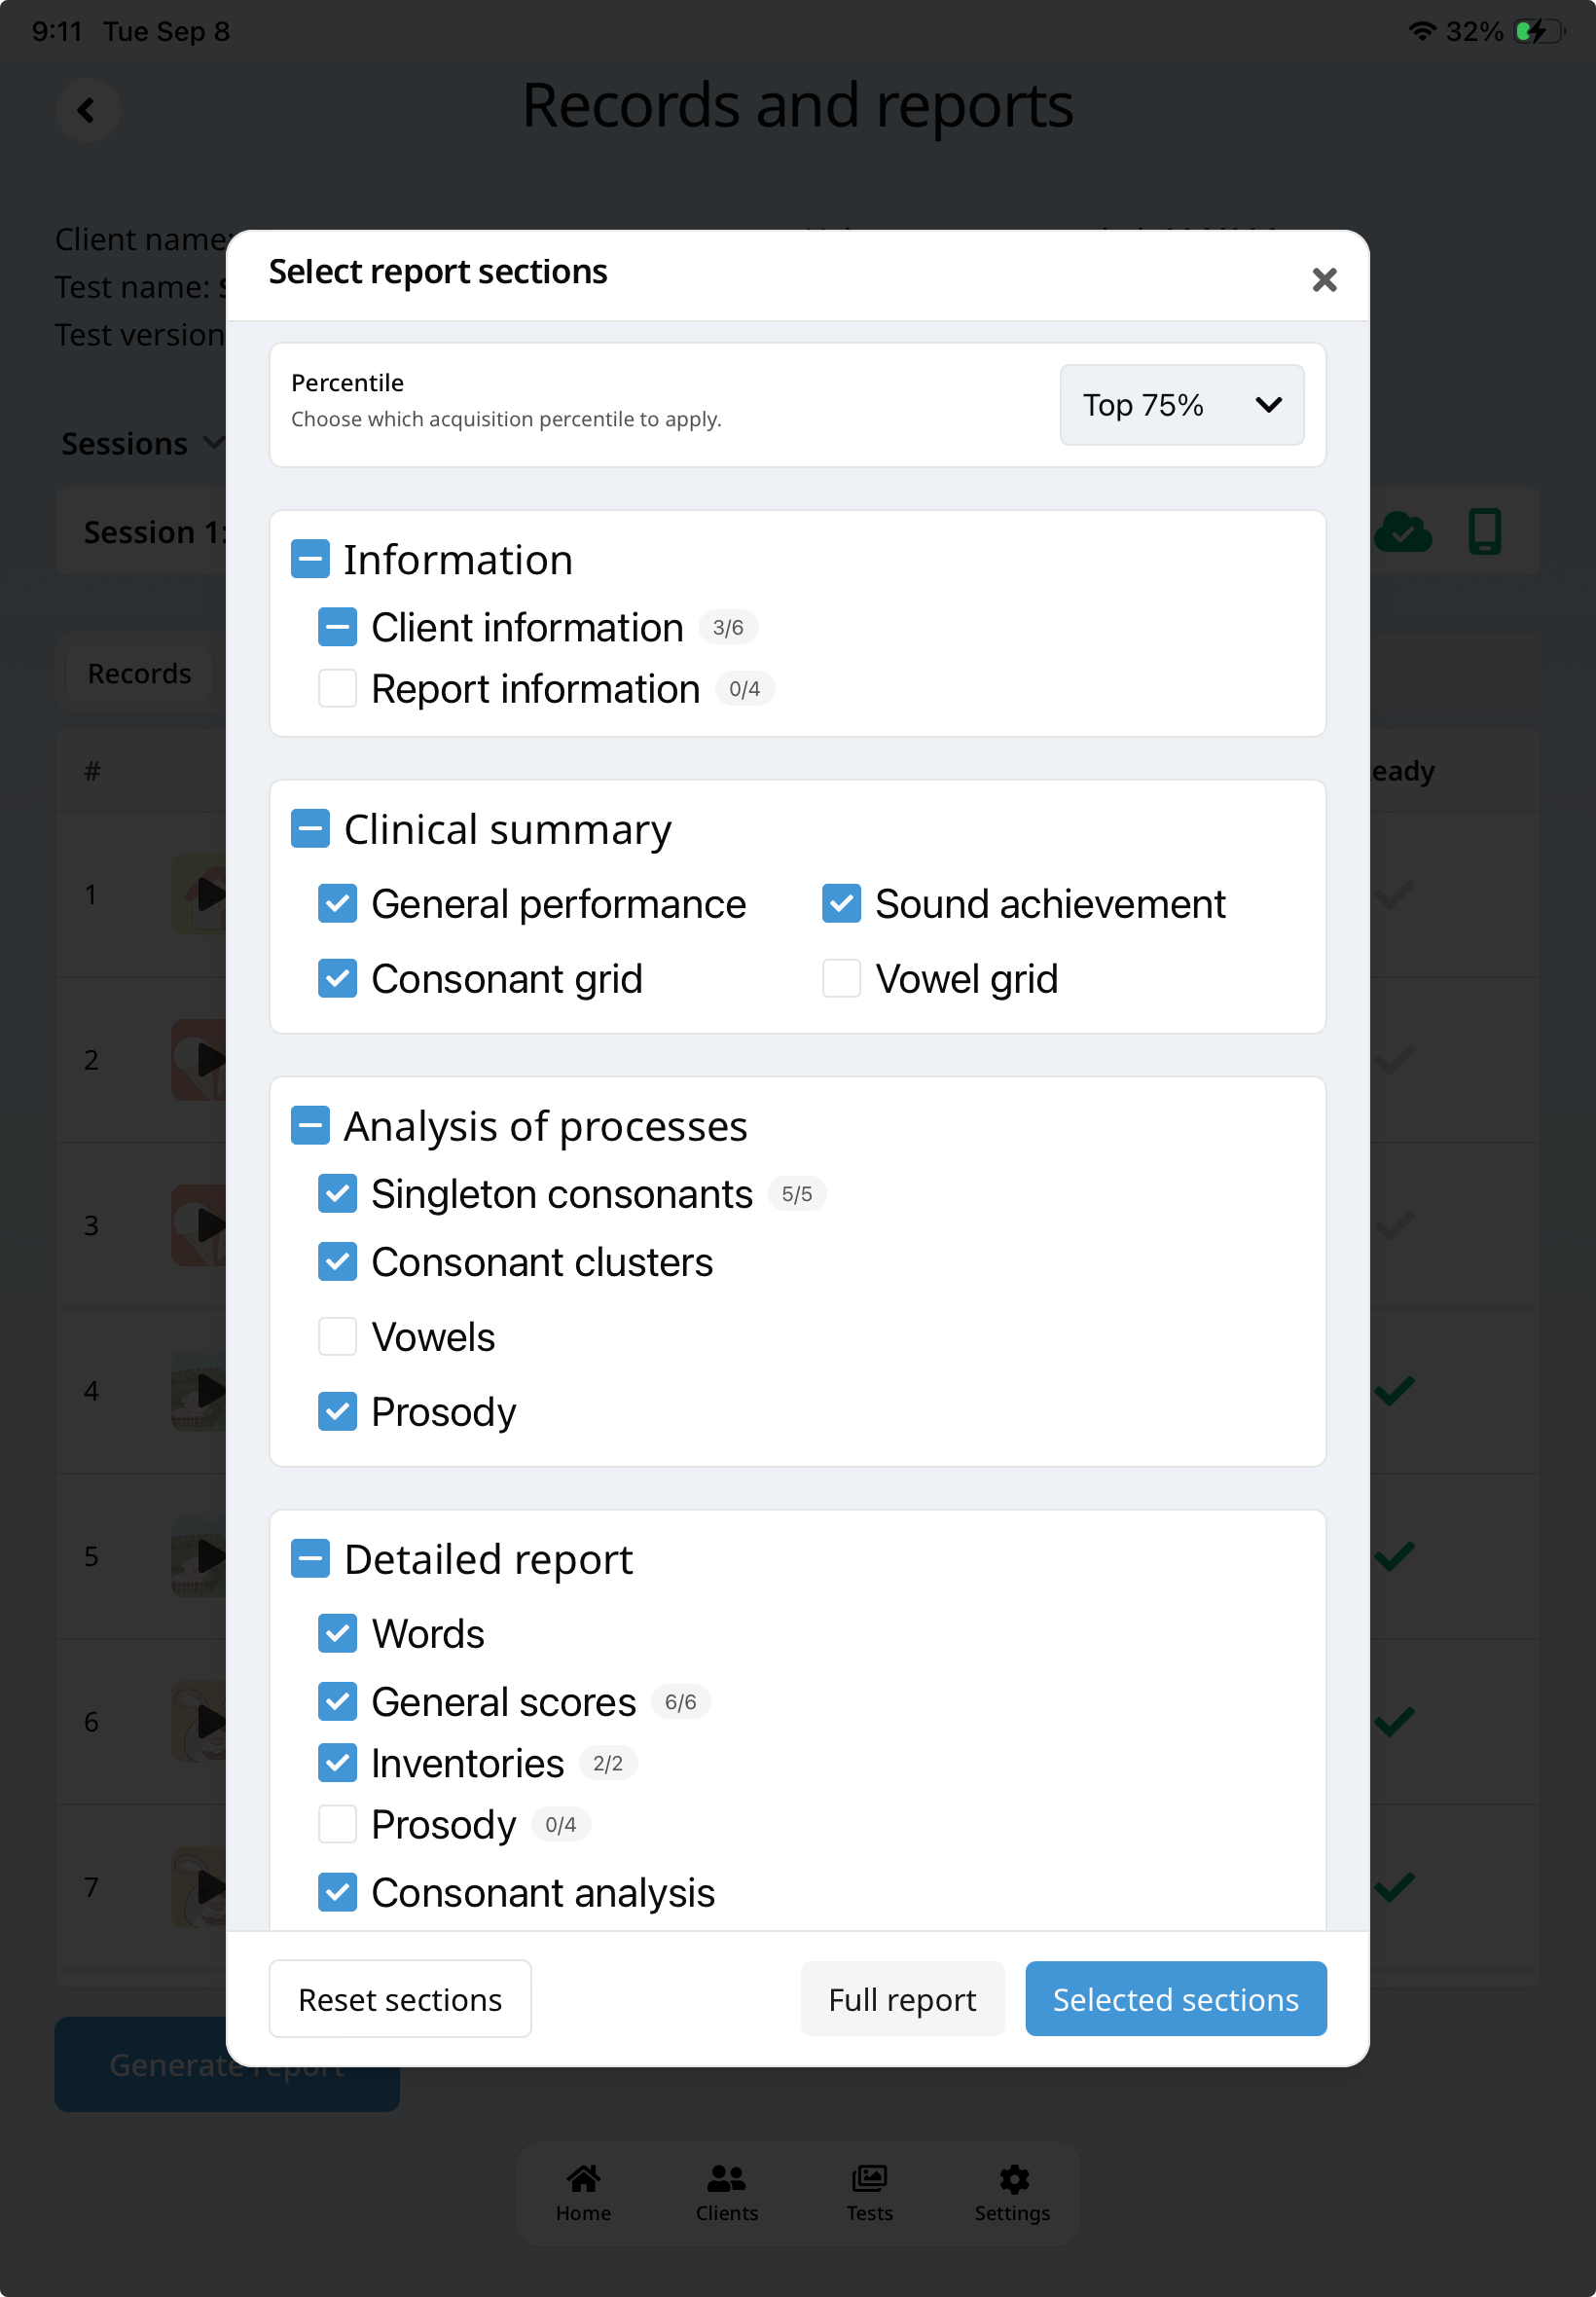
Open the client's session from Records and Reports, then tap Generate Report. Choose Information, Clinical Summary, Analysis of Processes, or Detailed Report in the section picker.
Reset your choices, create a Full Report, or generate only Selected Sections.
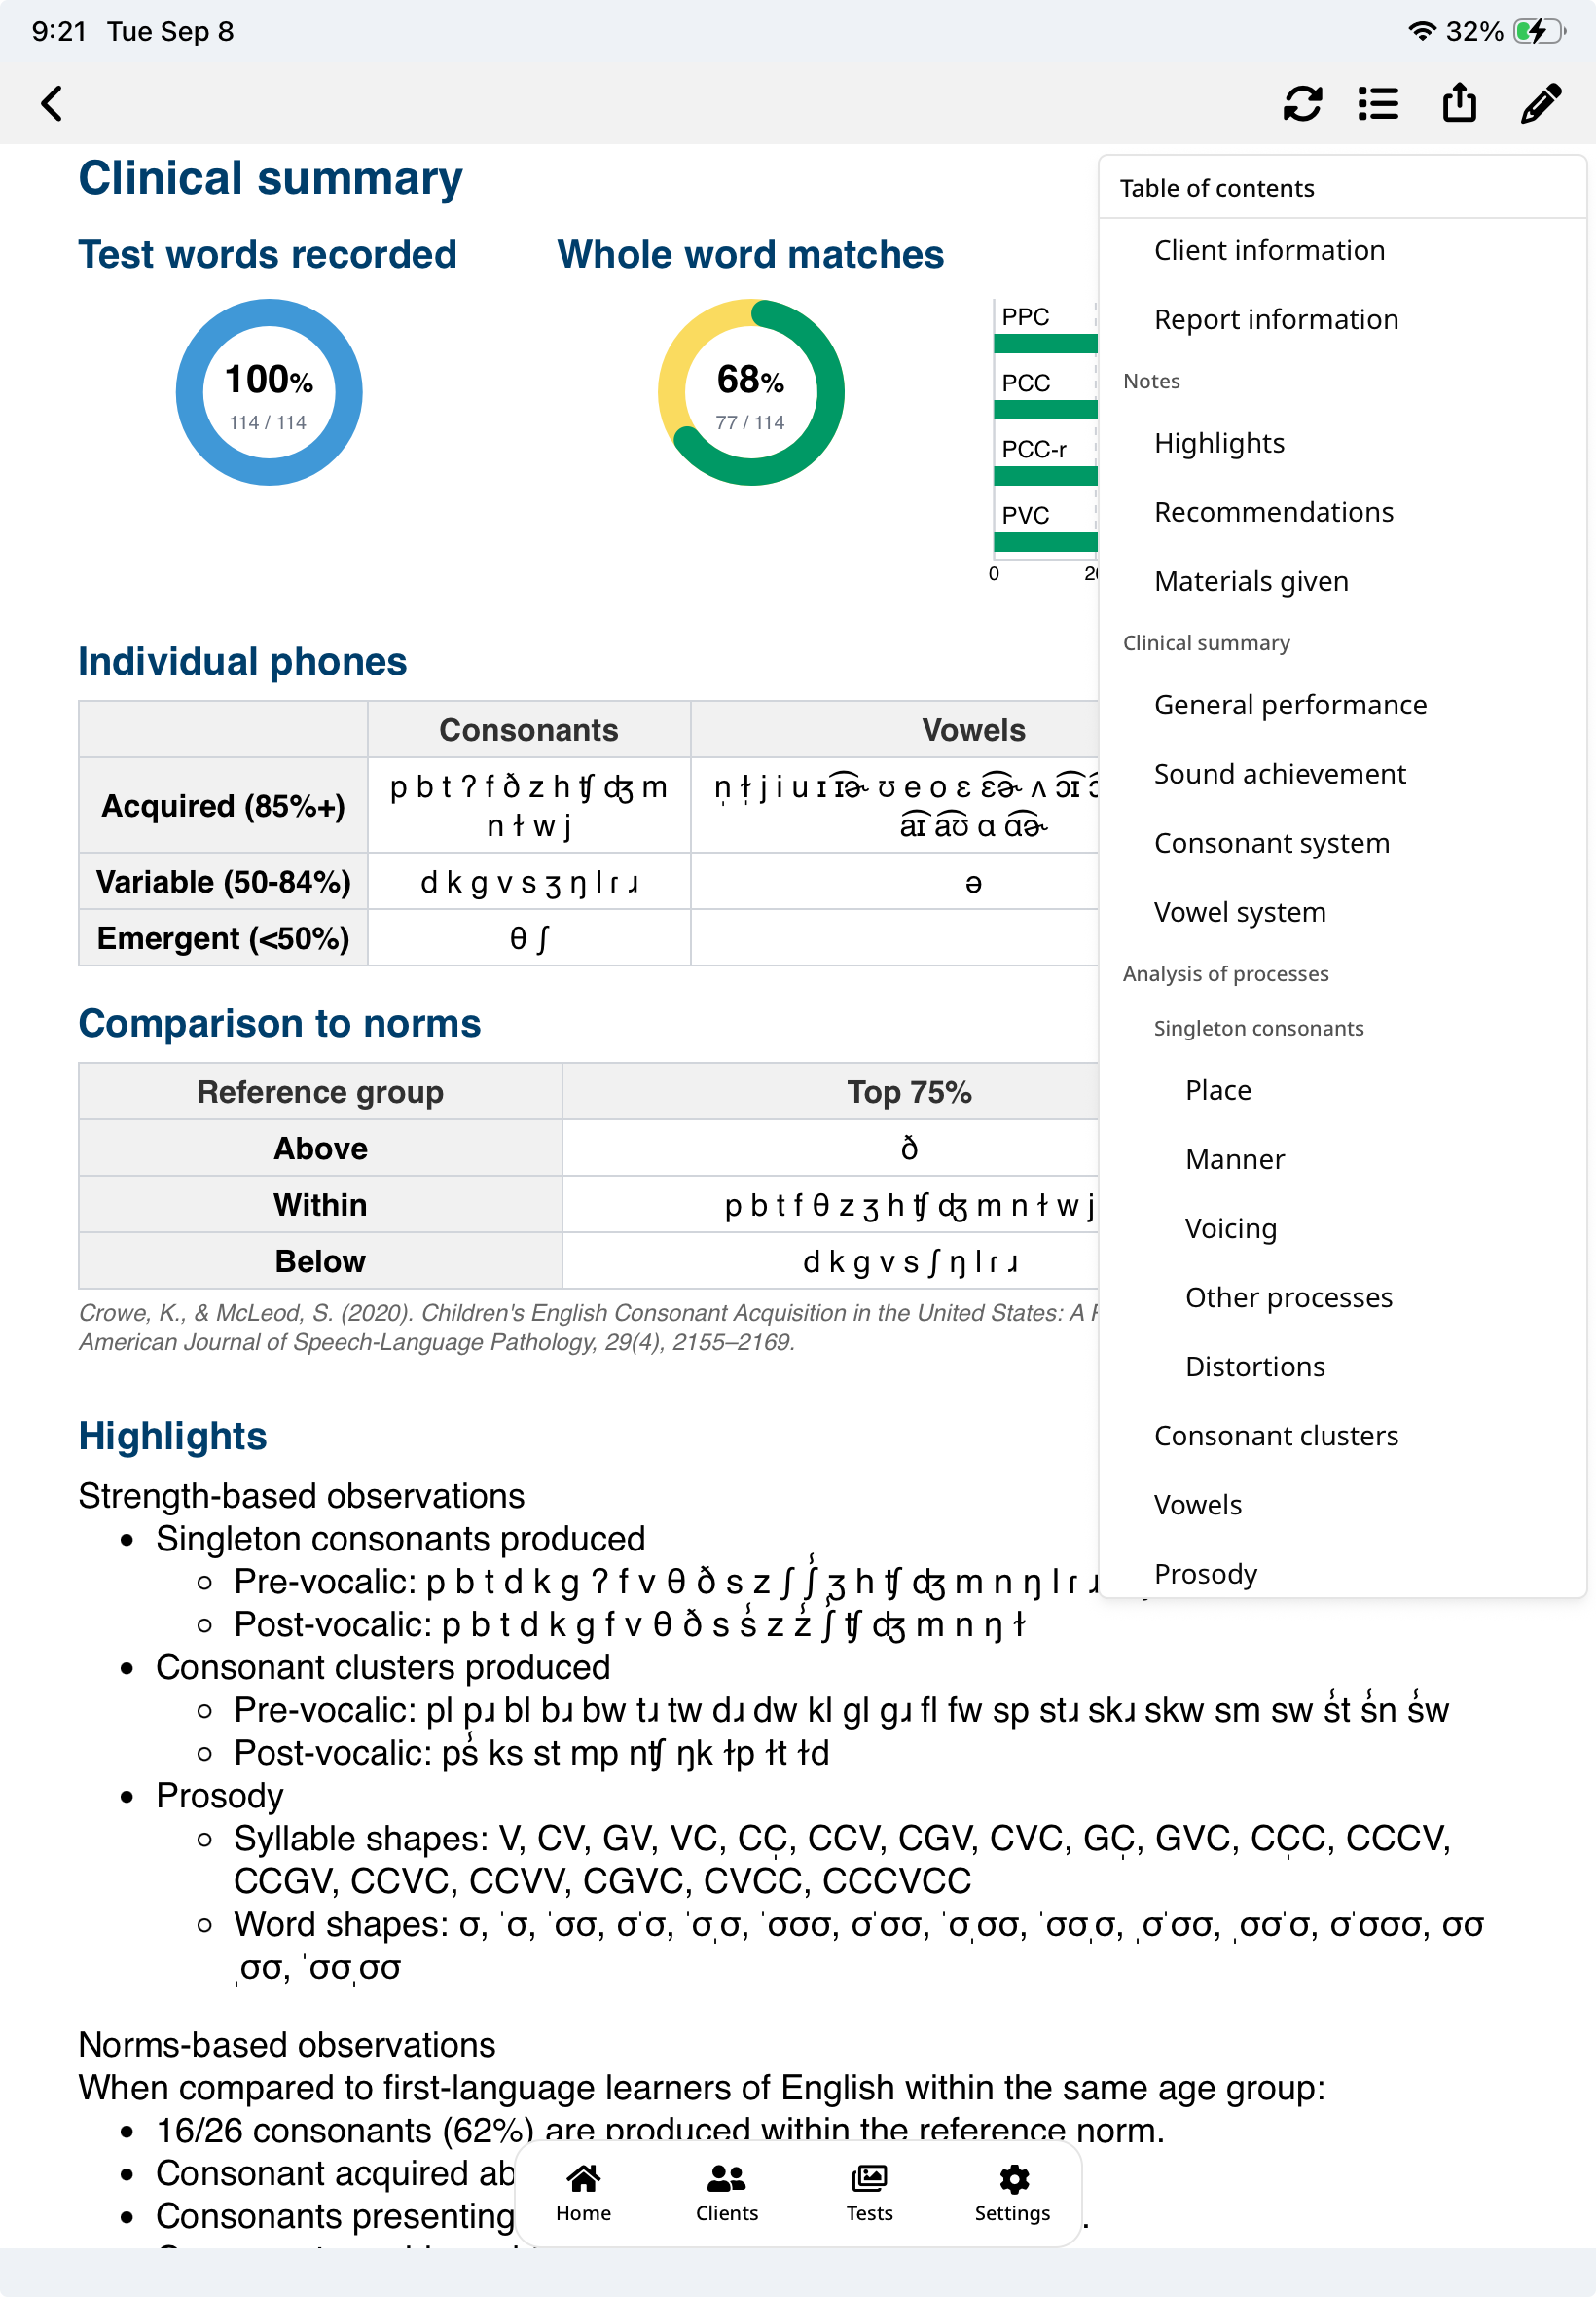
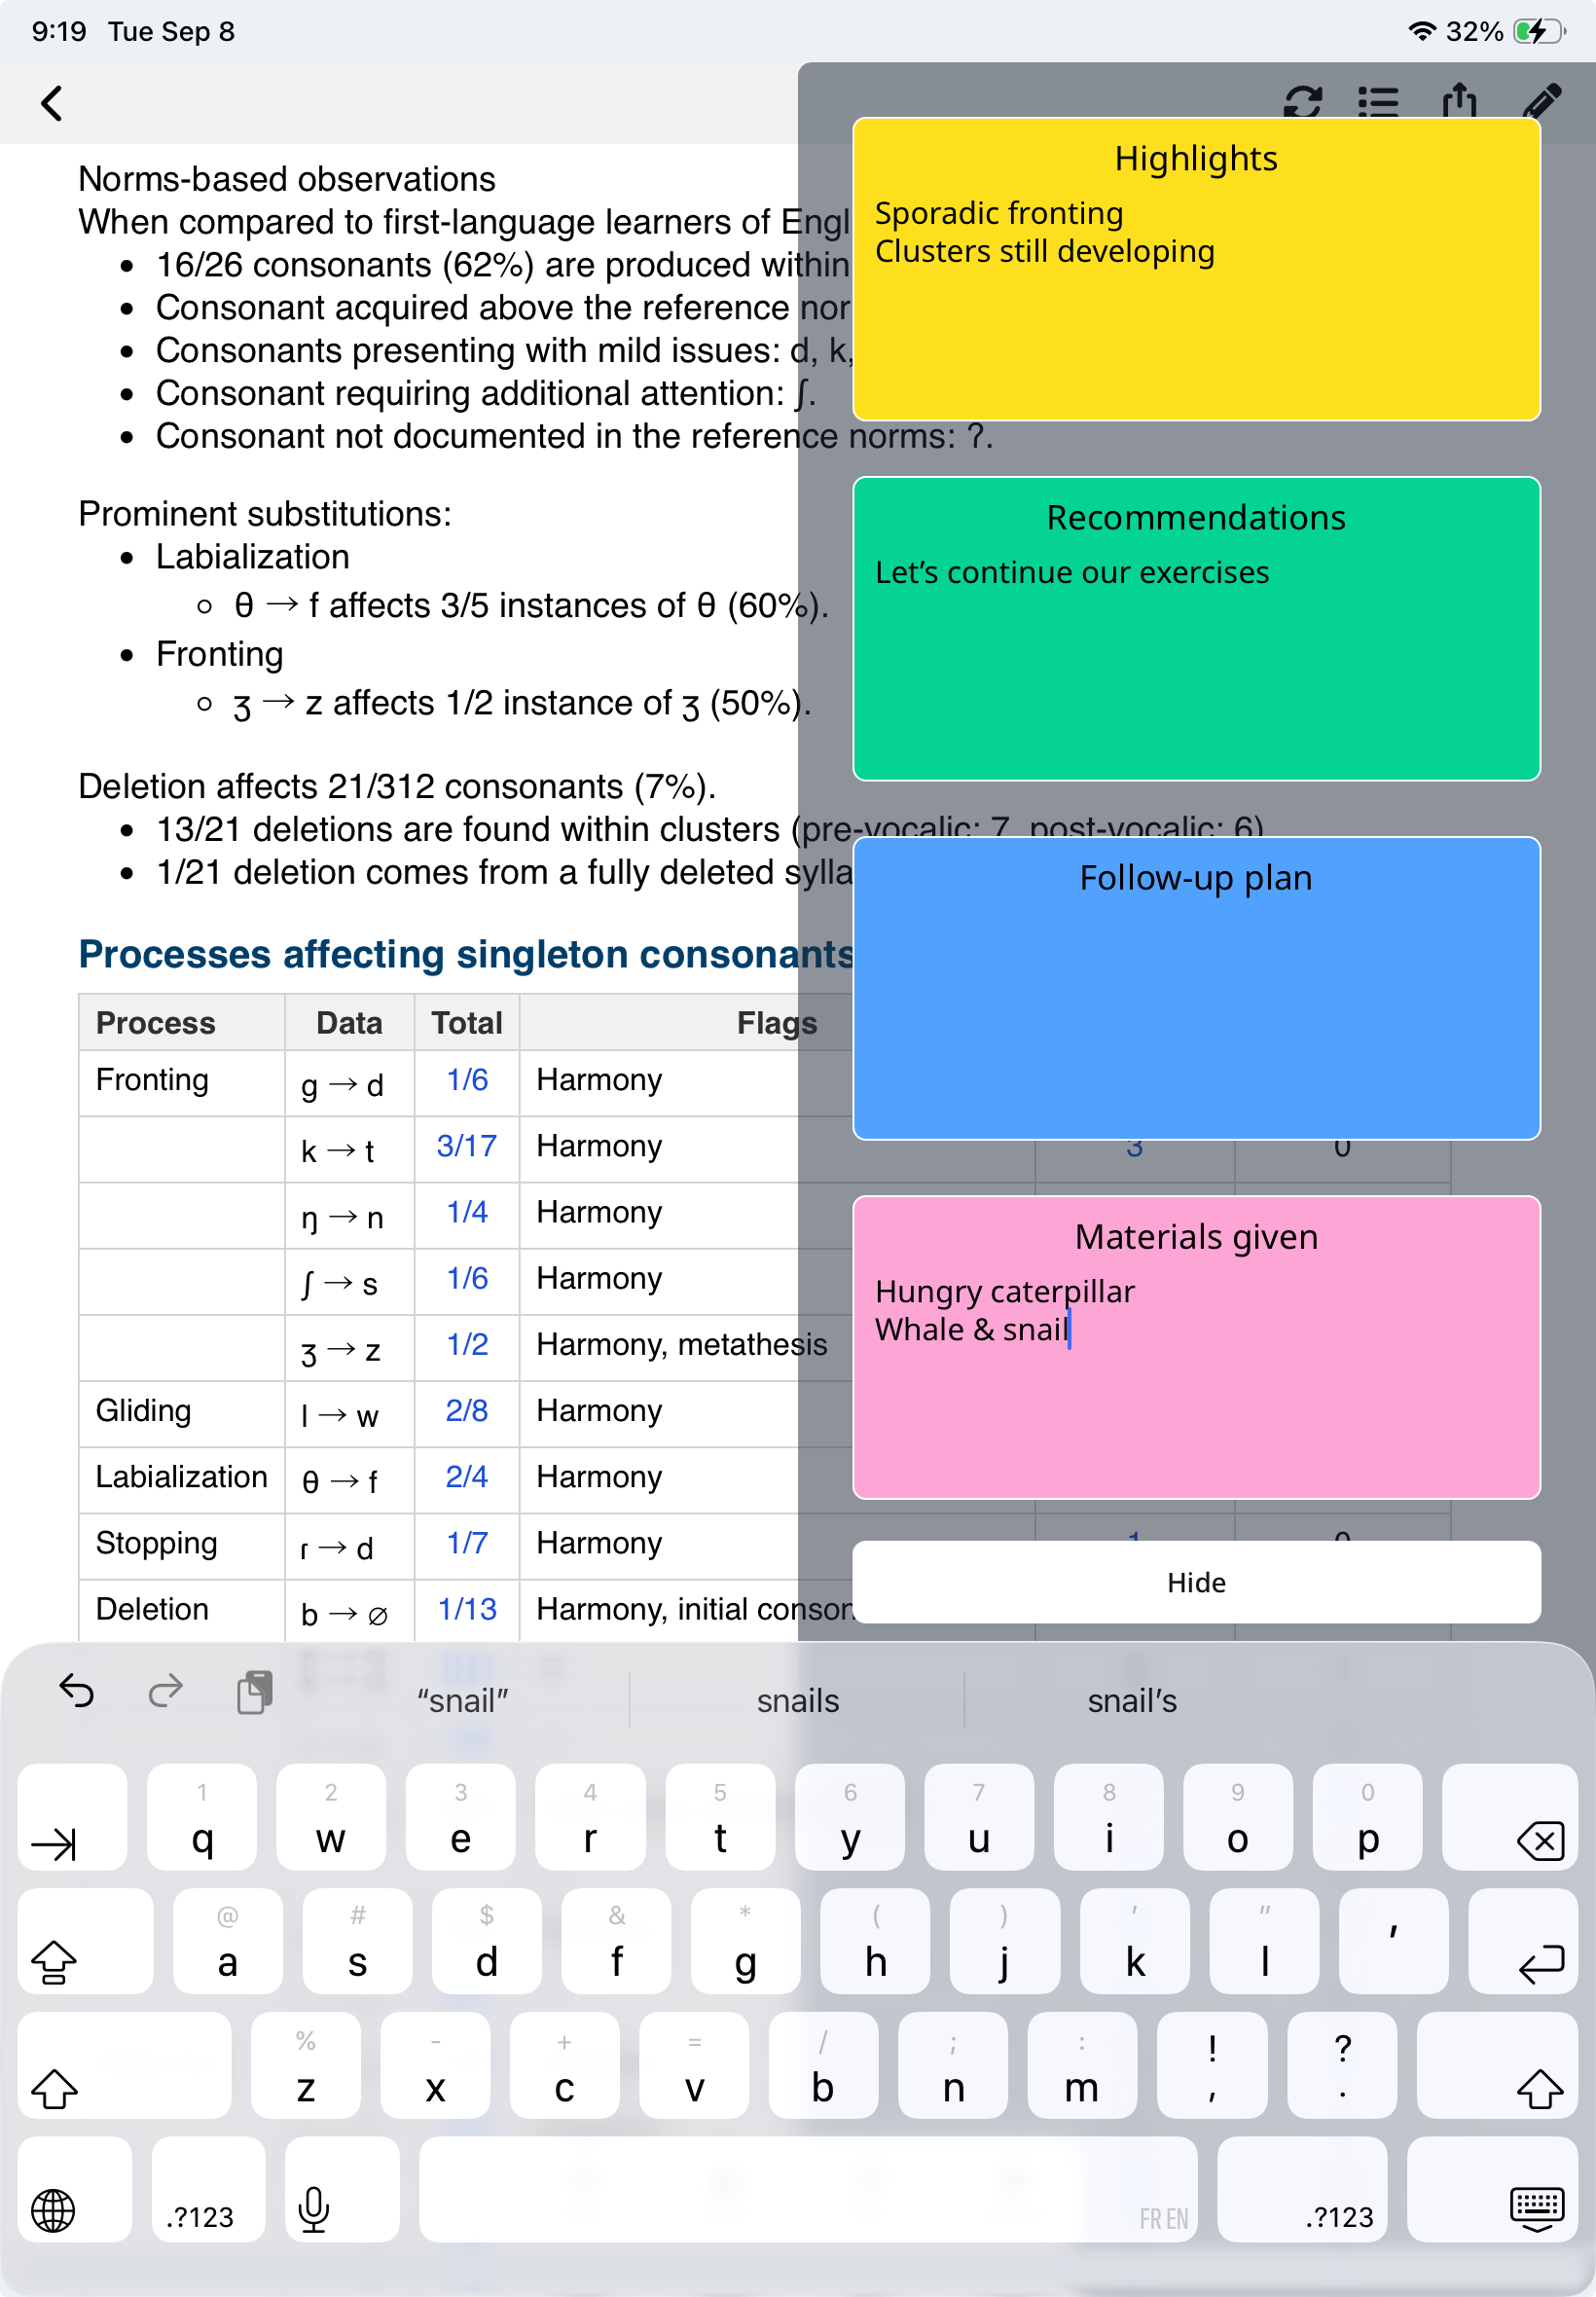
Open the notes drawer and add observations in the field for each report section. SpeechCatcher places each note into the corresponding section automatically.
When the report is ready, use Apple's share sheet to print, email, or save it as a professional PDF.
 View full-size screenshot (opens in a new tab)